Legs For Days...Succulent Propagation.

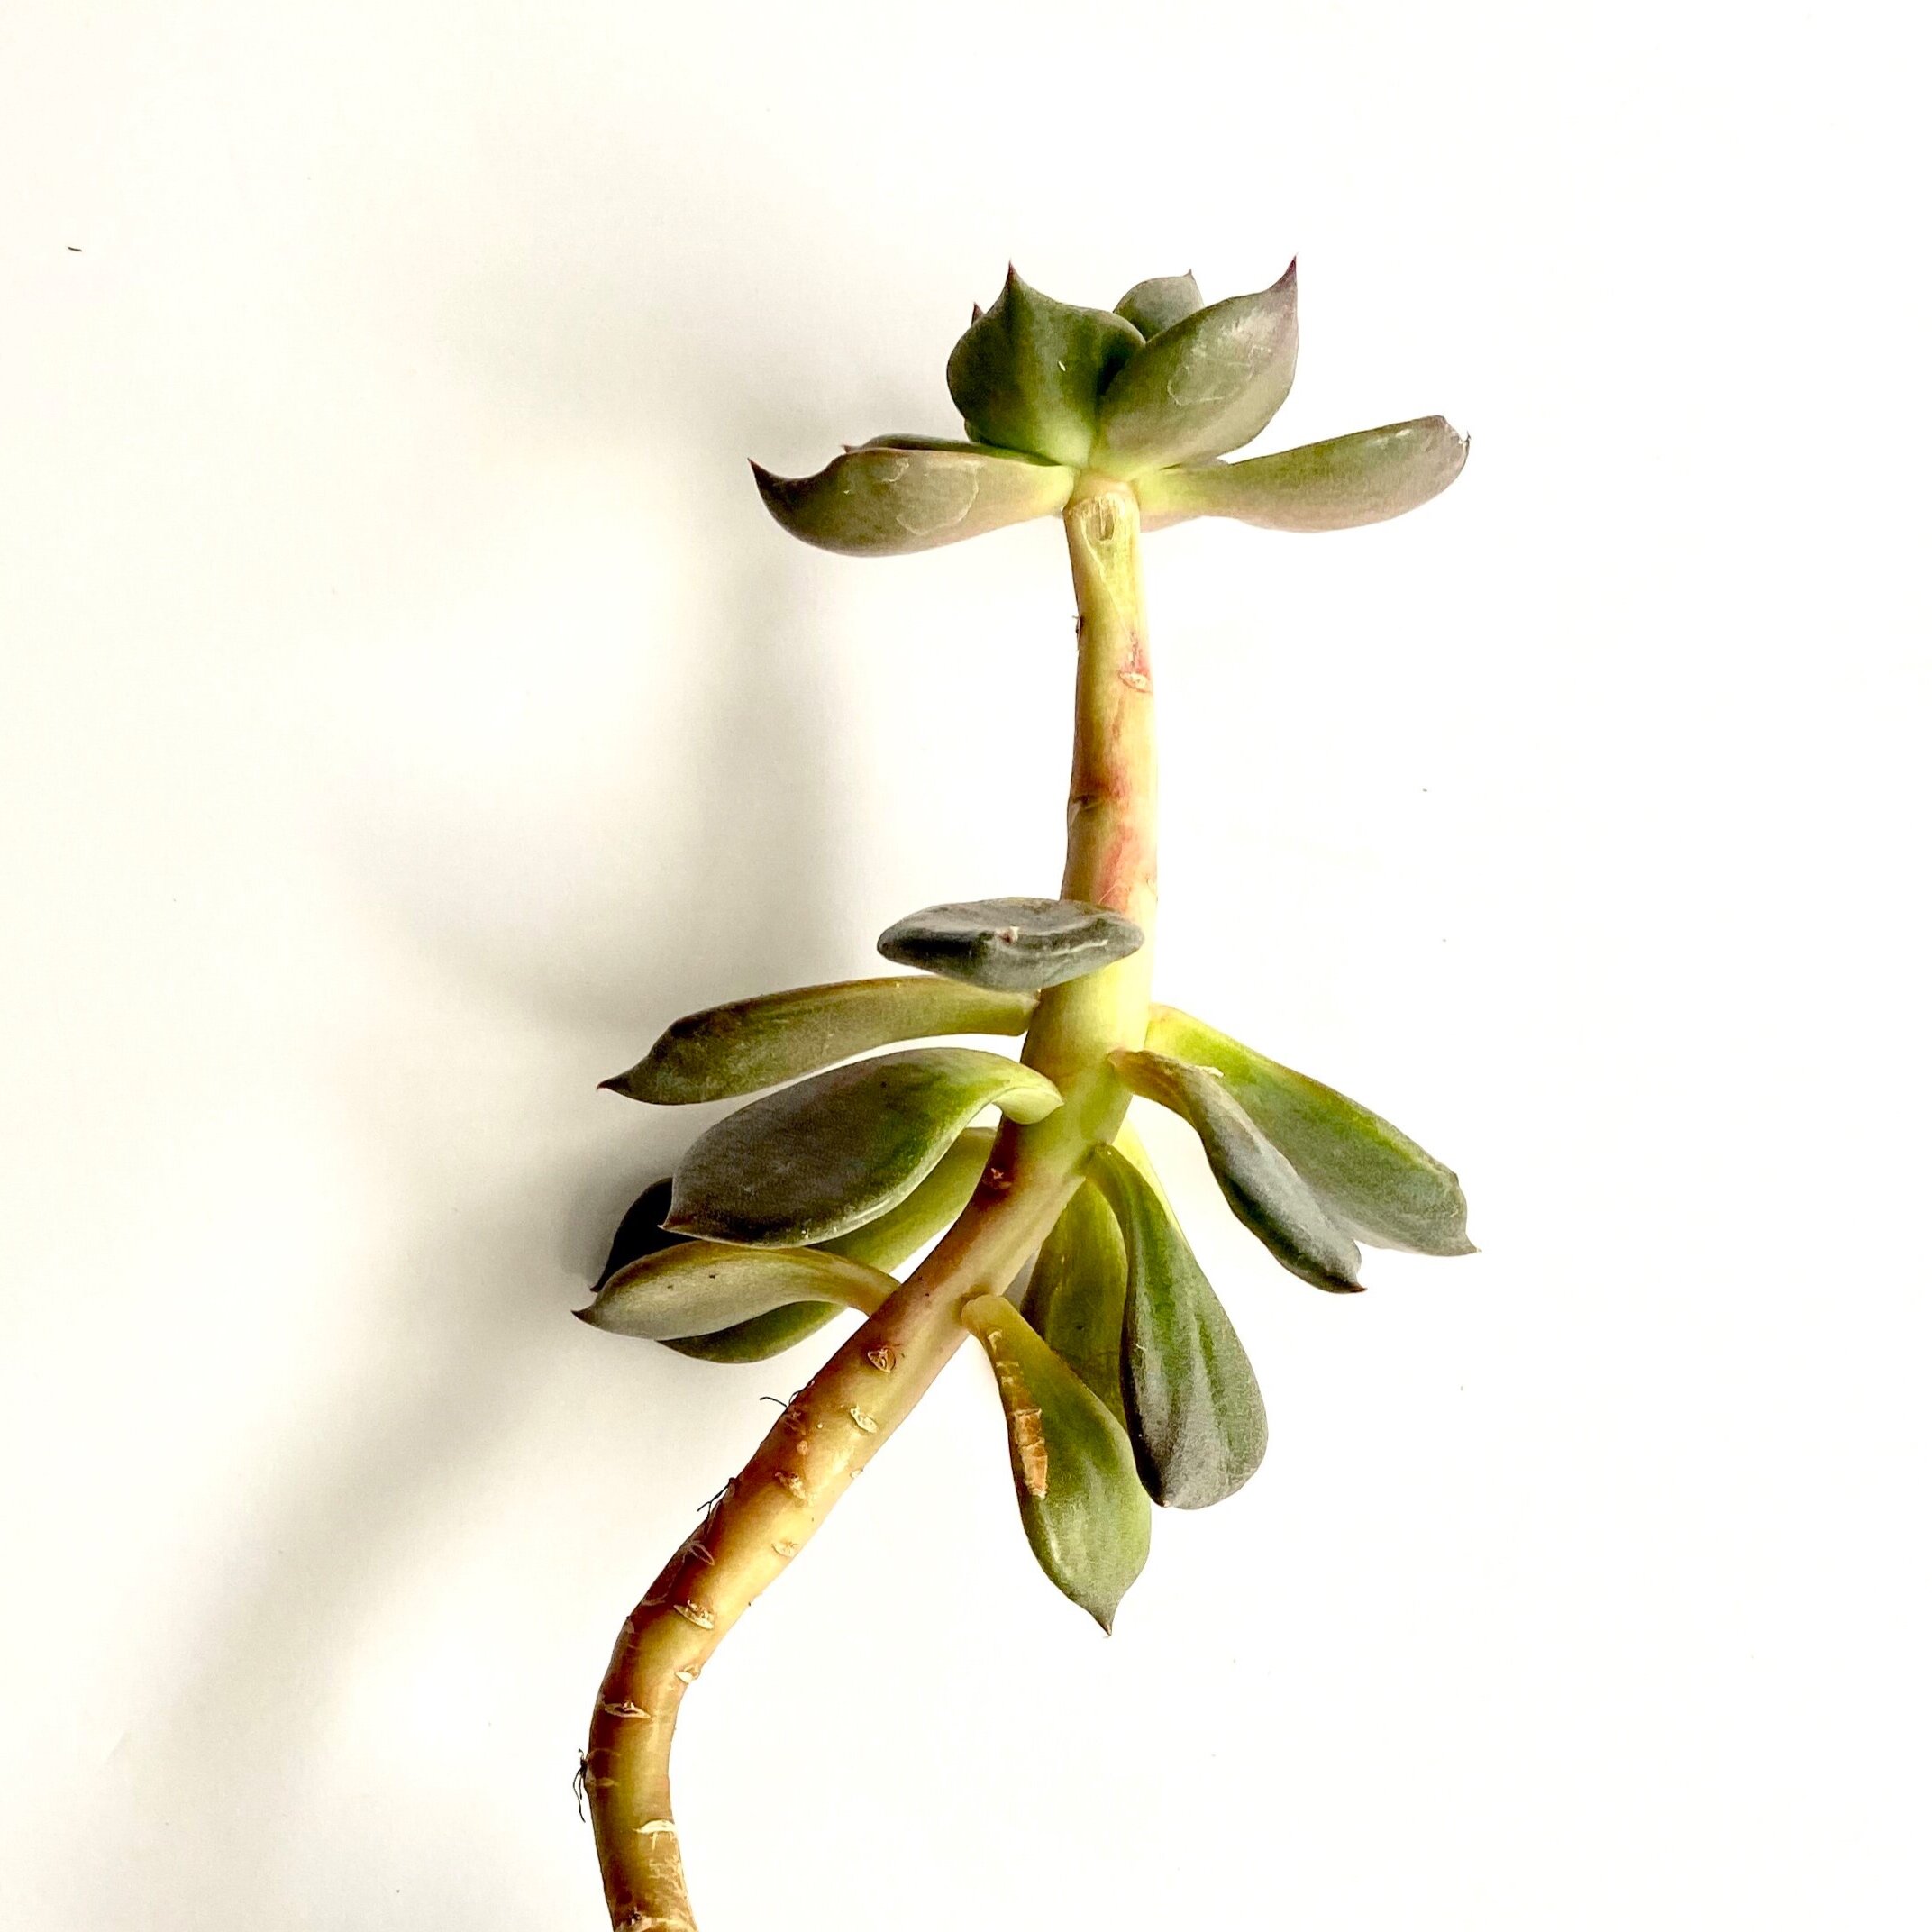
House plants are having their moment. It looks as though the trend will continue through the fall and winter as well. If you are like me, chances are you have succulents in your plant collection. Many succulents start out as lovely compact rosettes of leaves. But after time they can become leggy- where the stem has grown long from the plant trying to get better sun. Perhaps you accidentally knocked a leaf off during watering and have a mind to throw it away. Do not give up on these little green friends. Propagate them. Through the magic of propagation, instead of one…you can have dozens. And if plant people know one thing- you can never have to many plants. With fall bringing in the colder weather, now is a great time to start this project indoors. The baby plants you nurture would be wonderful gifts for the holidays.
What you need to propagate a succulent is easier than you think. Chances are you already have most of these items at home. You will need the following materials:
a succulent with fleshy leaves. Echeveria, Jade, and Sedium work great.
cactus soil
2-3 small pots
1 flat container
water
sharp sterilized knife or scissor

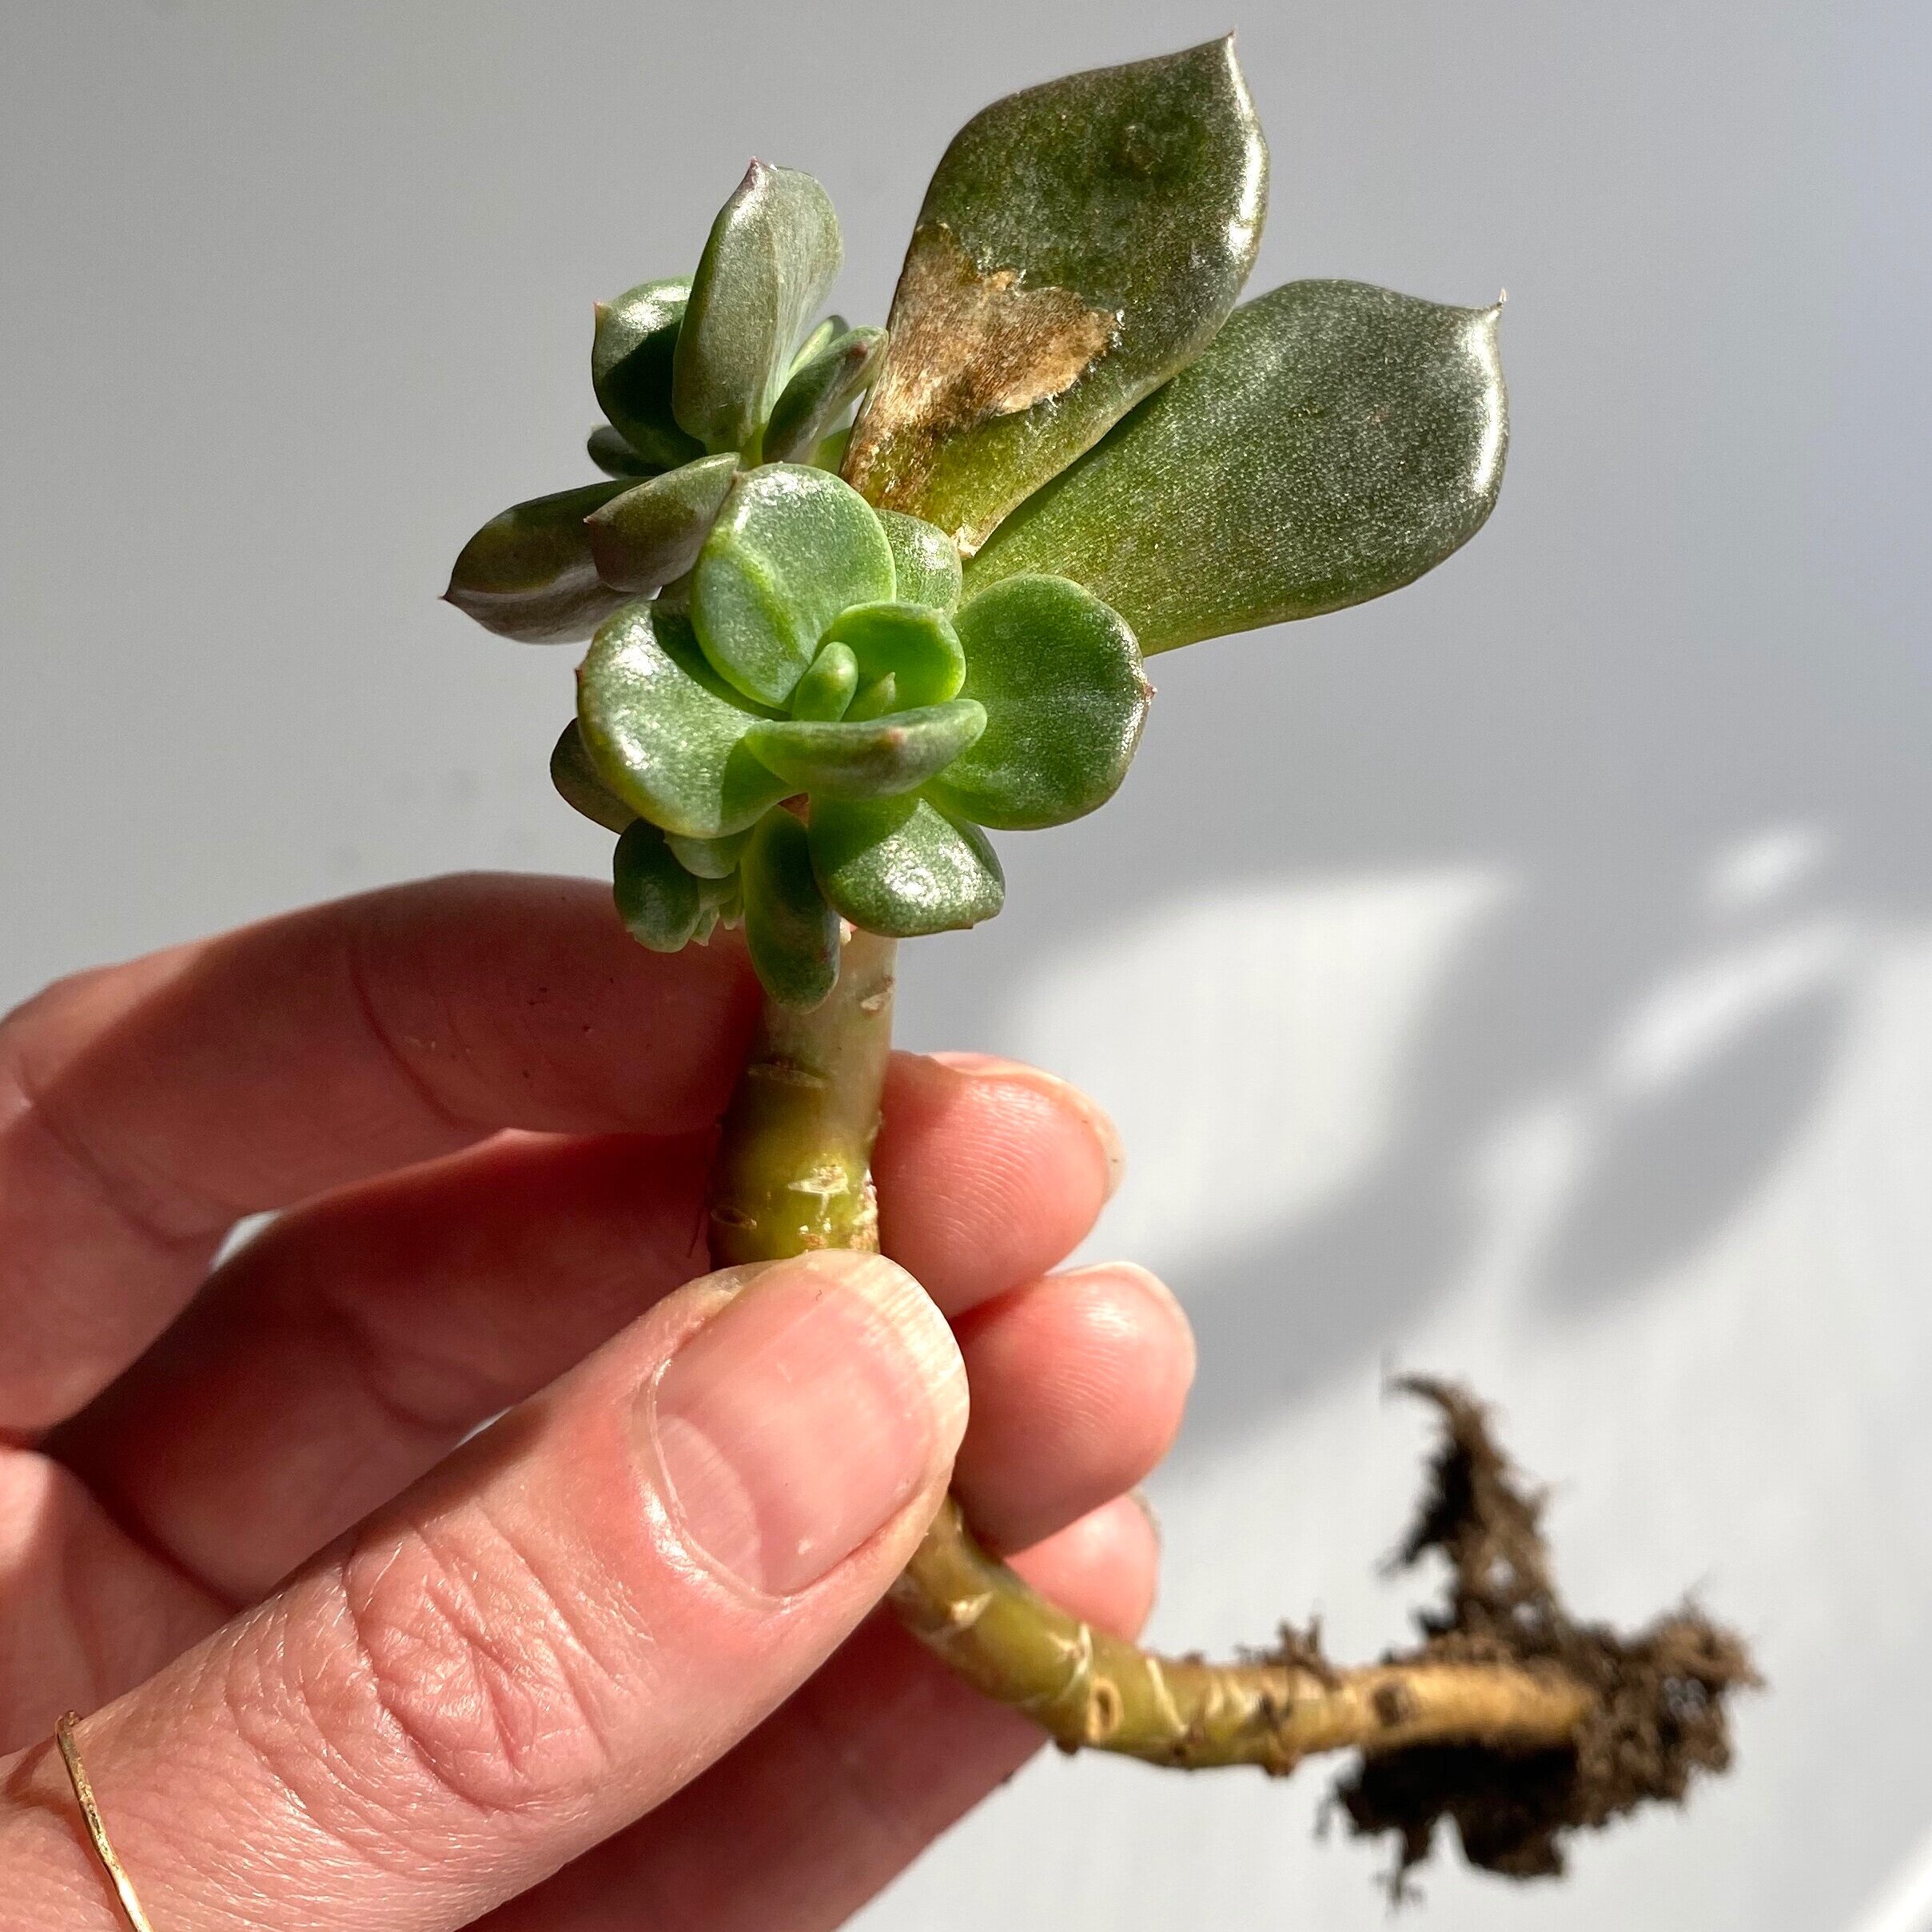
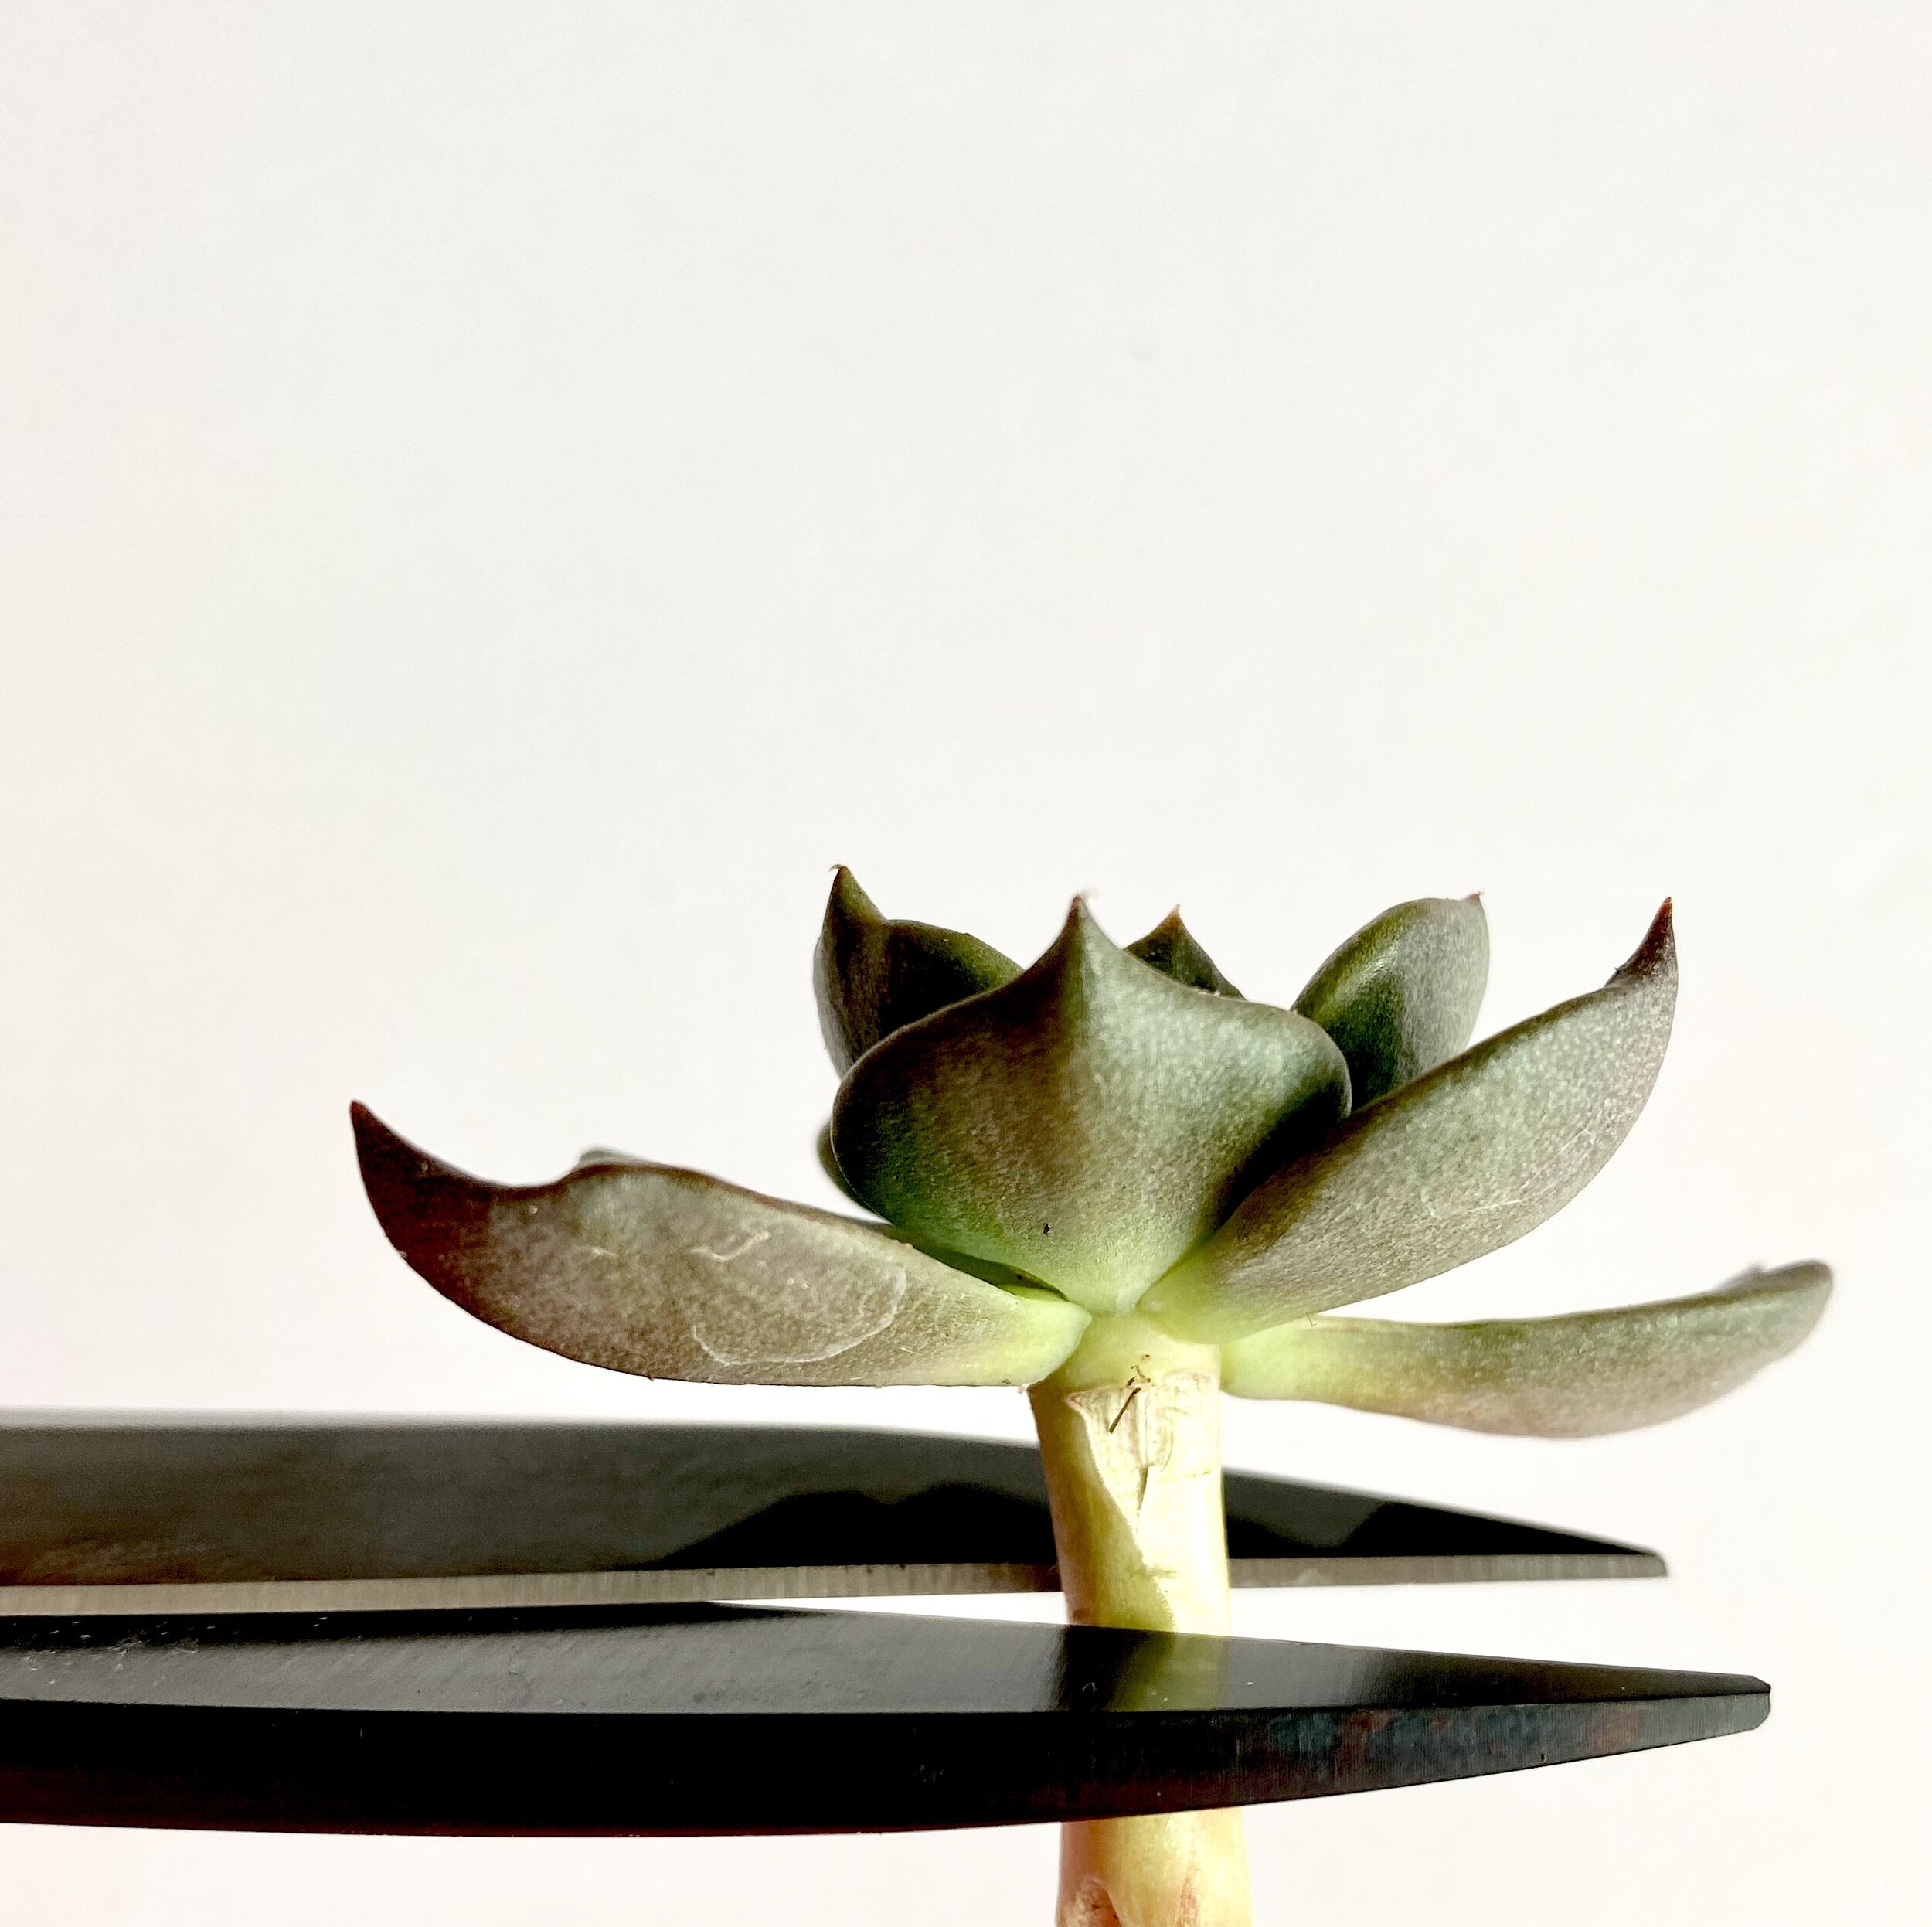
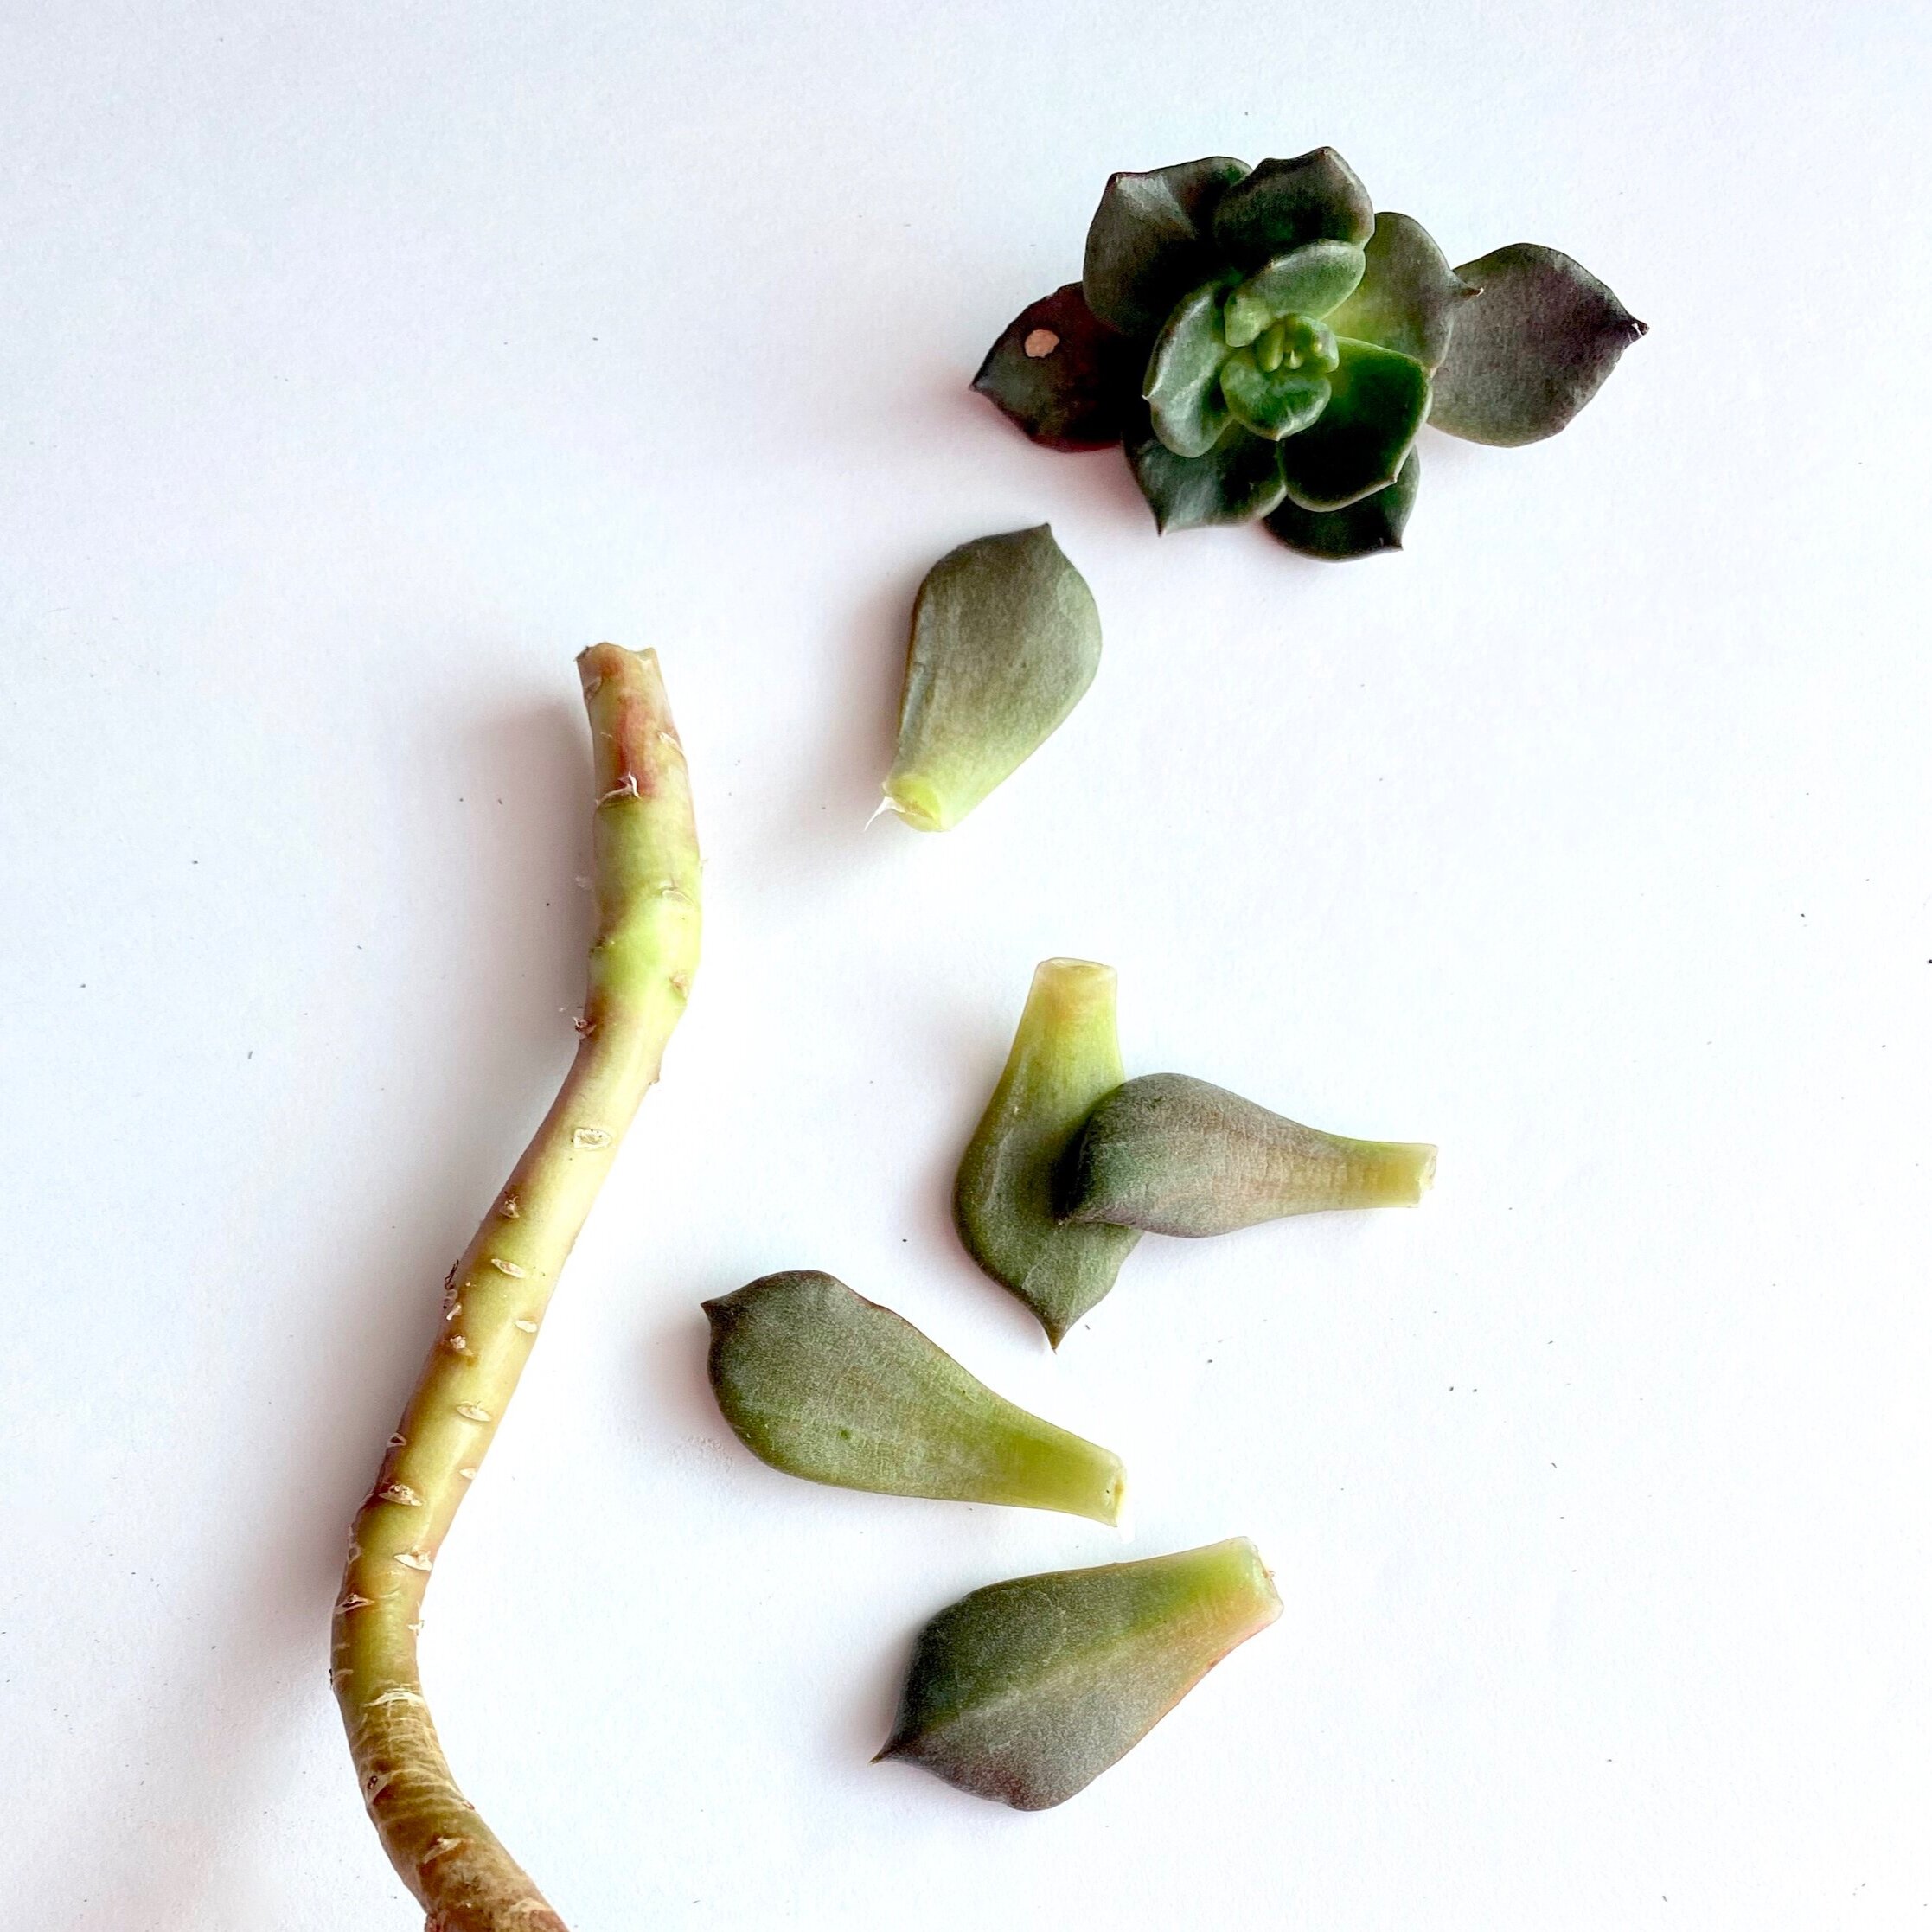
Take a sharp knife or scissor and cut off the rosette leaving a small part of the stem.
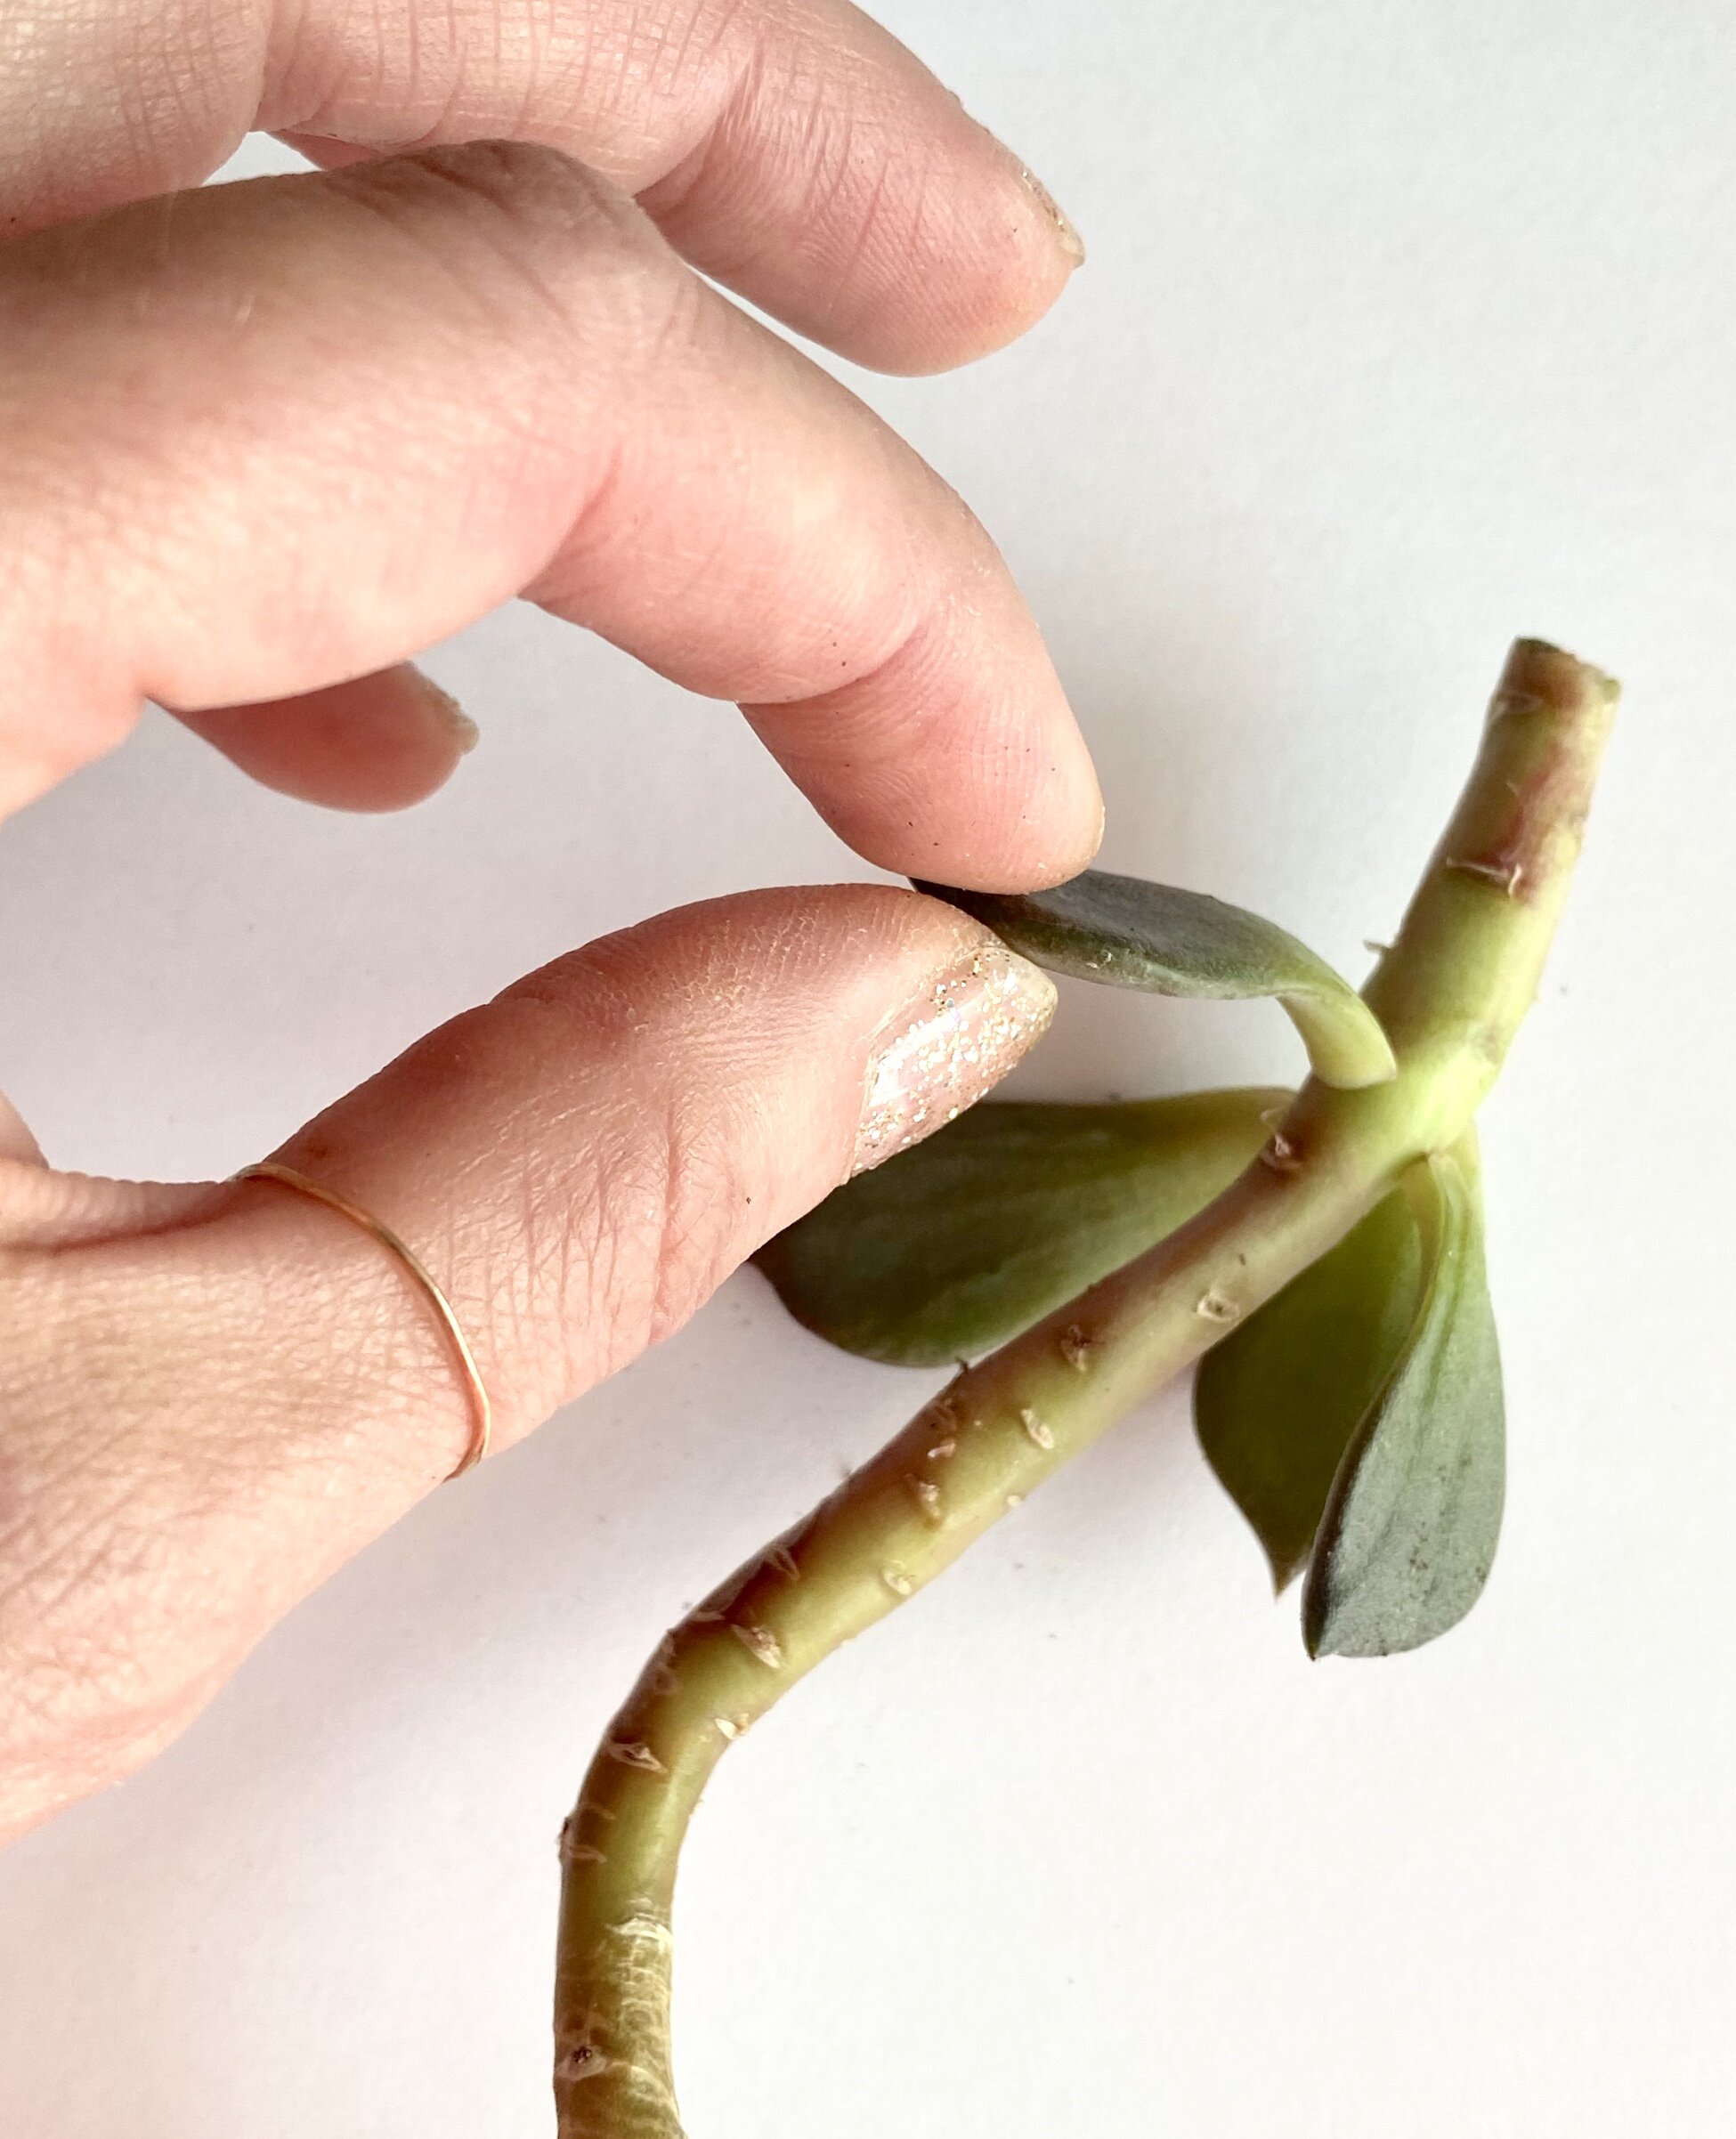
Once you have removed the rosette, Take your leggy succulent and gently twist off the widely spread leaves. Be gentle, yet firm. You want to get the whole leaf from the base of the stem.
You want to put the leaves and the rosette aside in a safe spot where they can form a callus over the area where they were removed from the stem. 1-3 days should be fine.
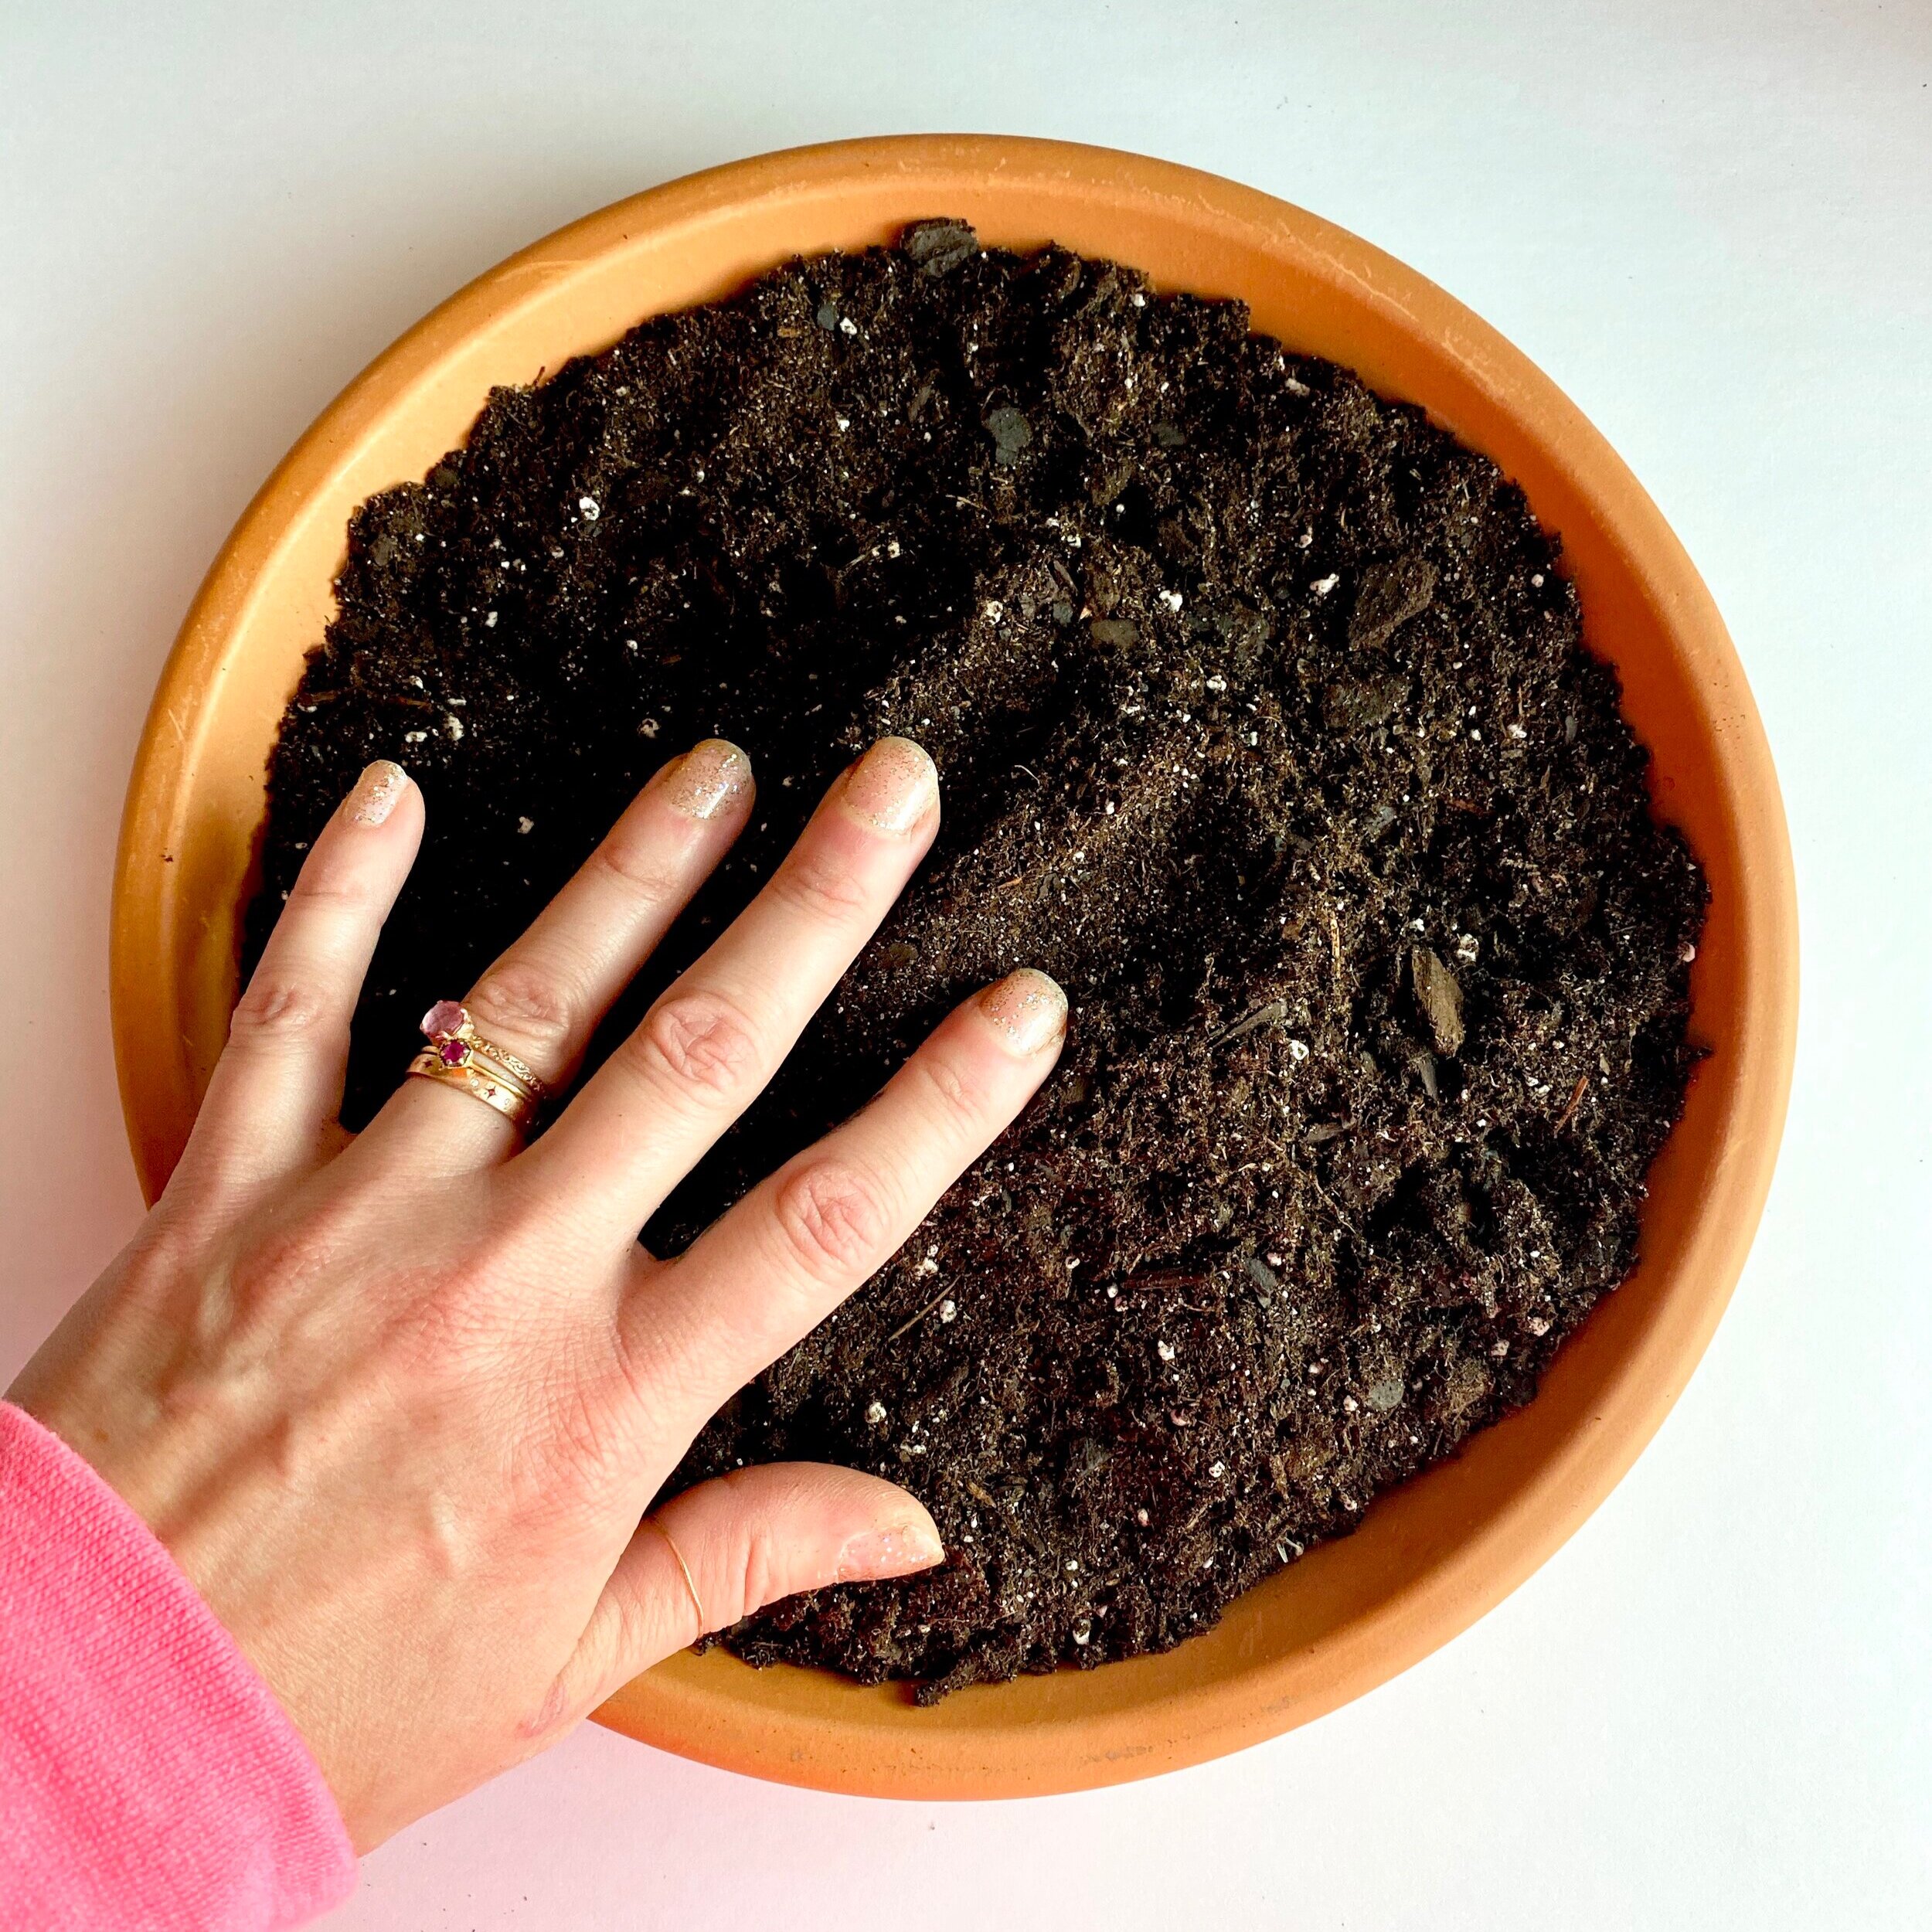
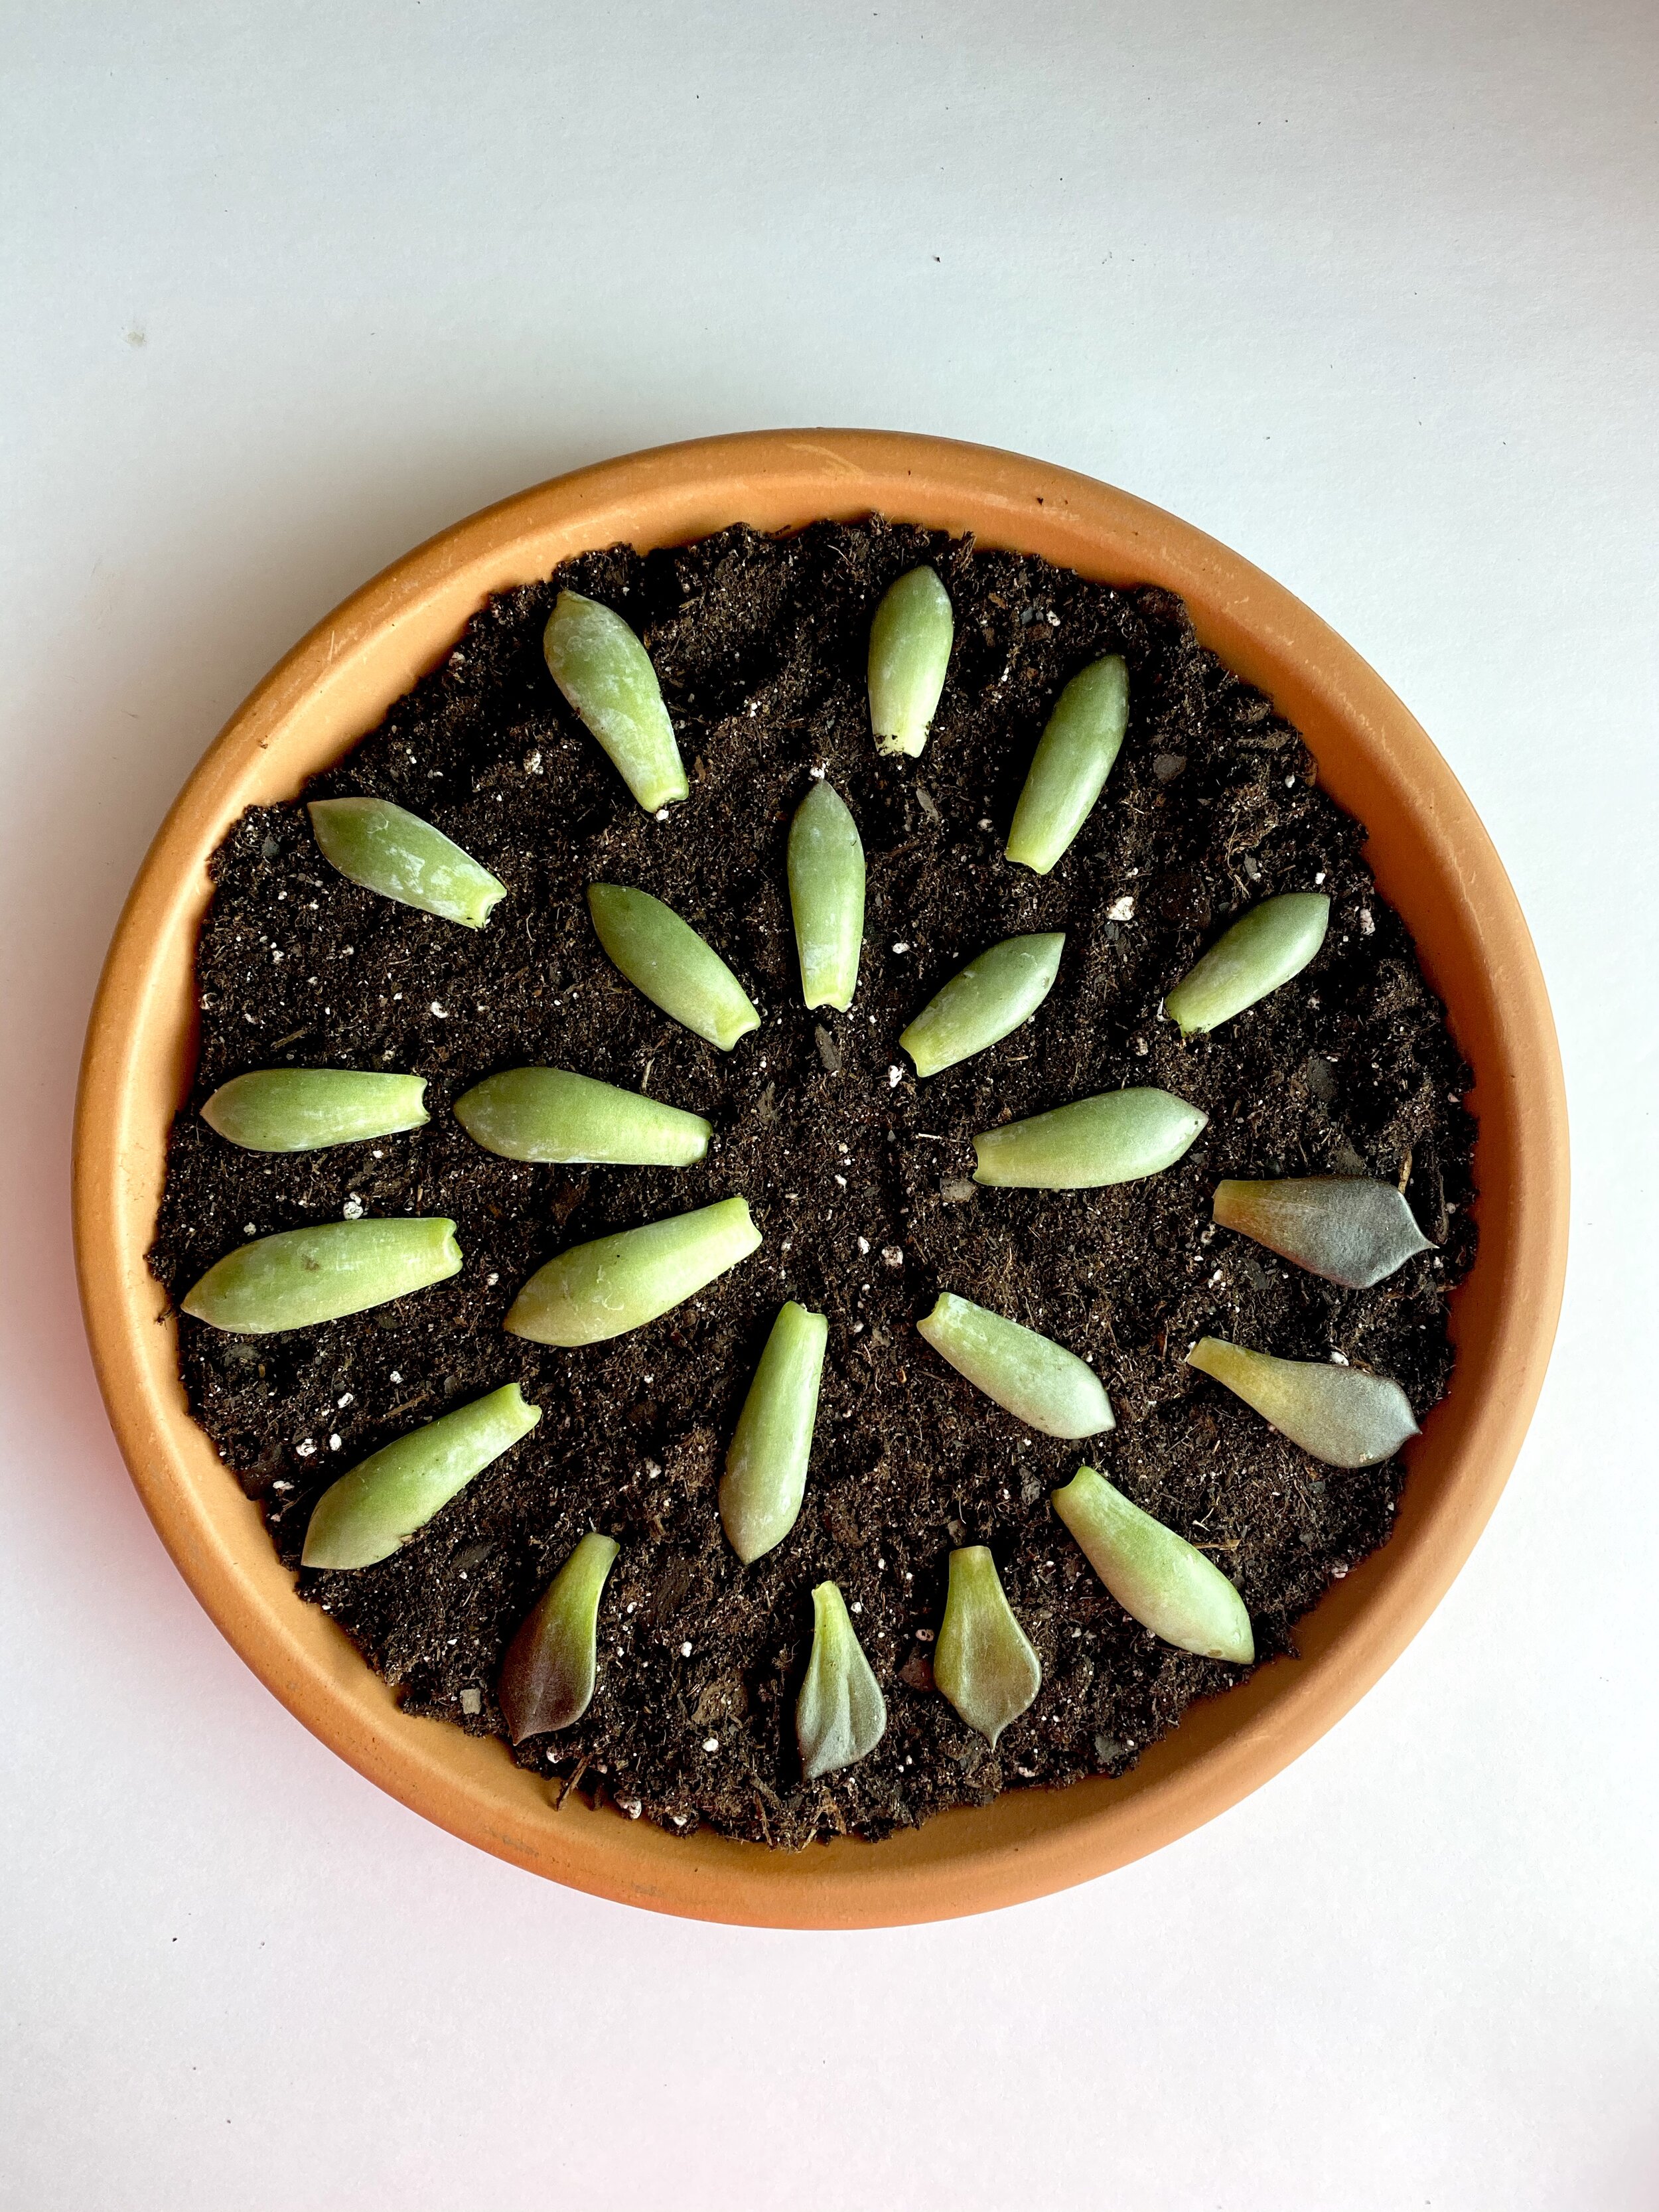
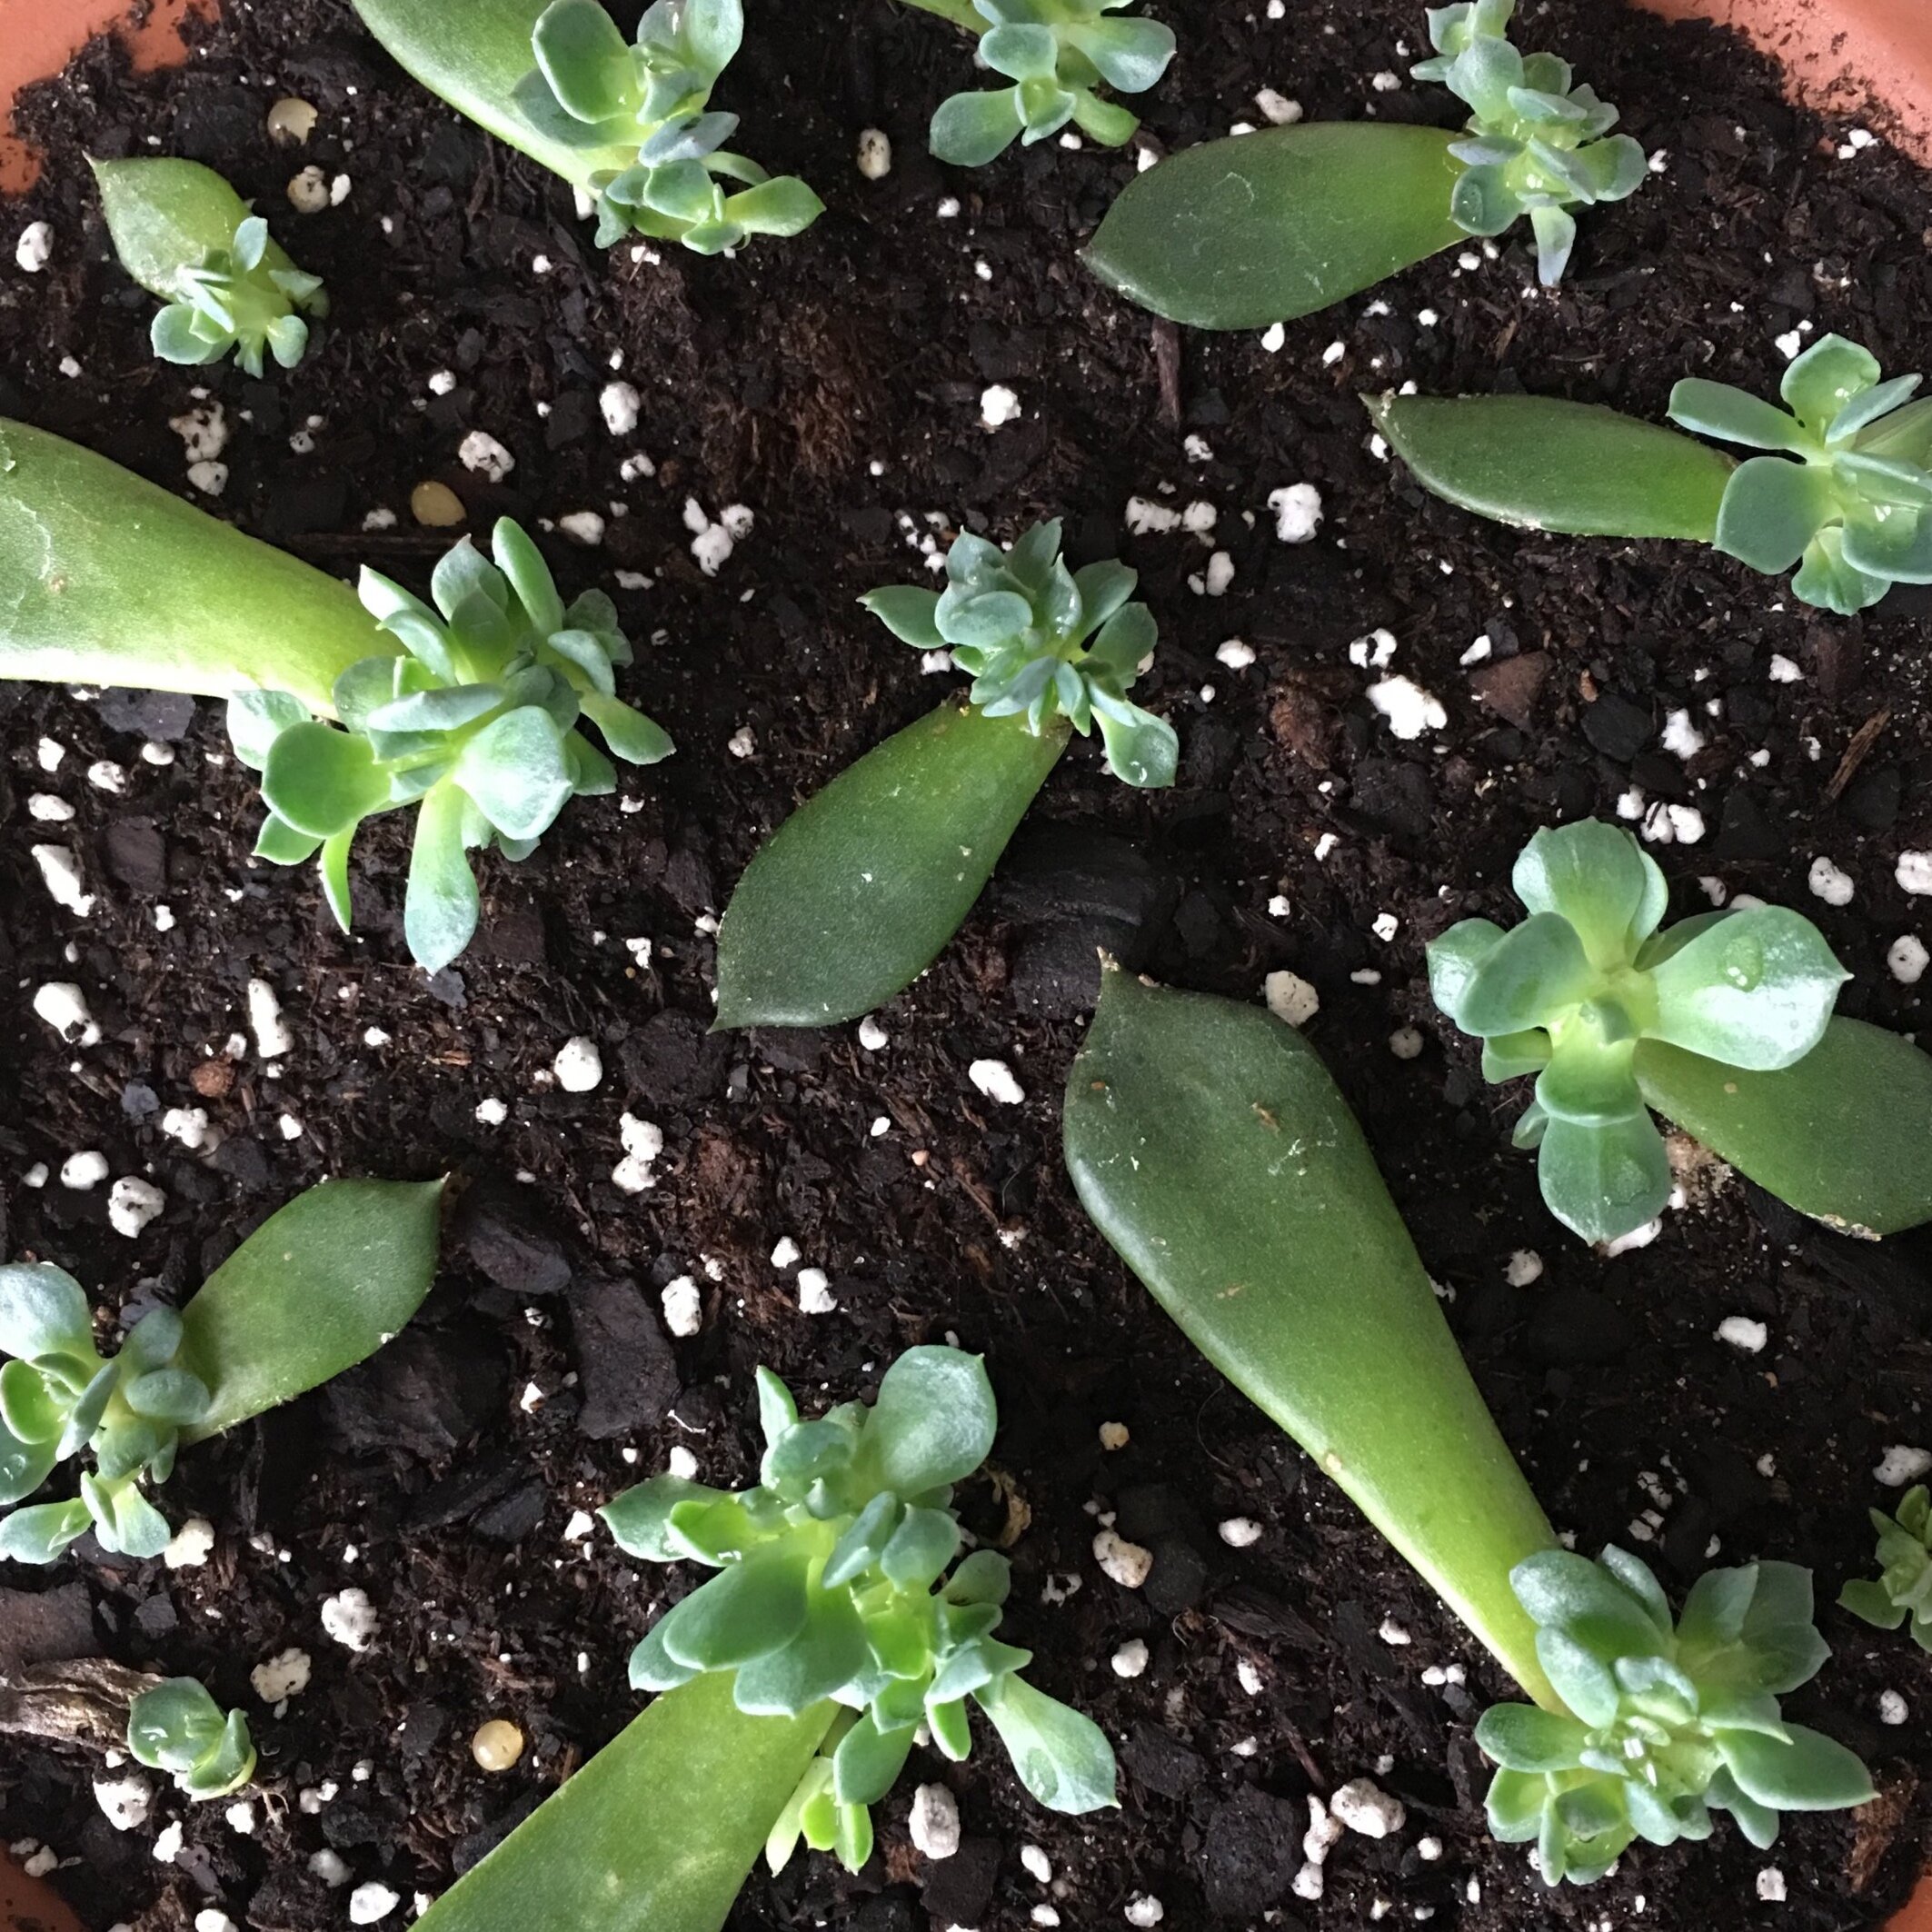
Fill your flat container 3/4 full with cactus soil. Smooth out the soil flat. Then place your leaves on top of the soil. Leave an inch or so between them. Spray well with water. You will want to place the container in bright filtered light. NOT bright sun until they are established.
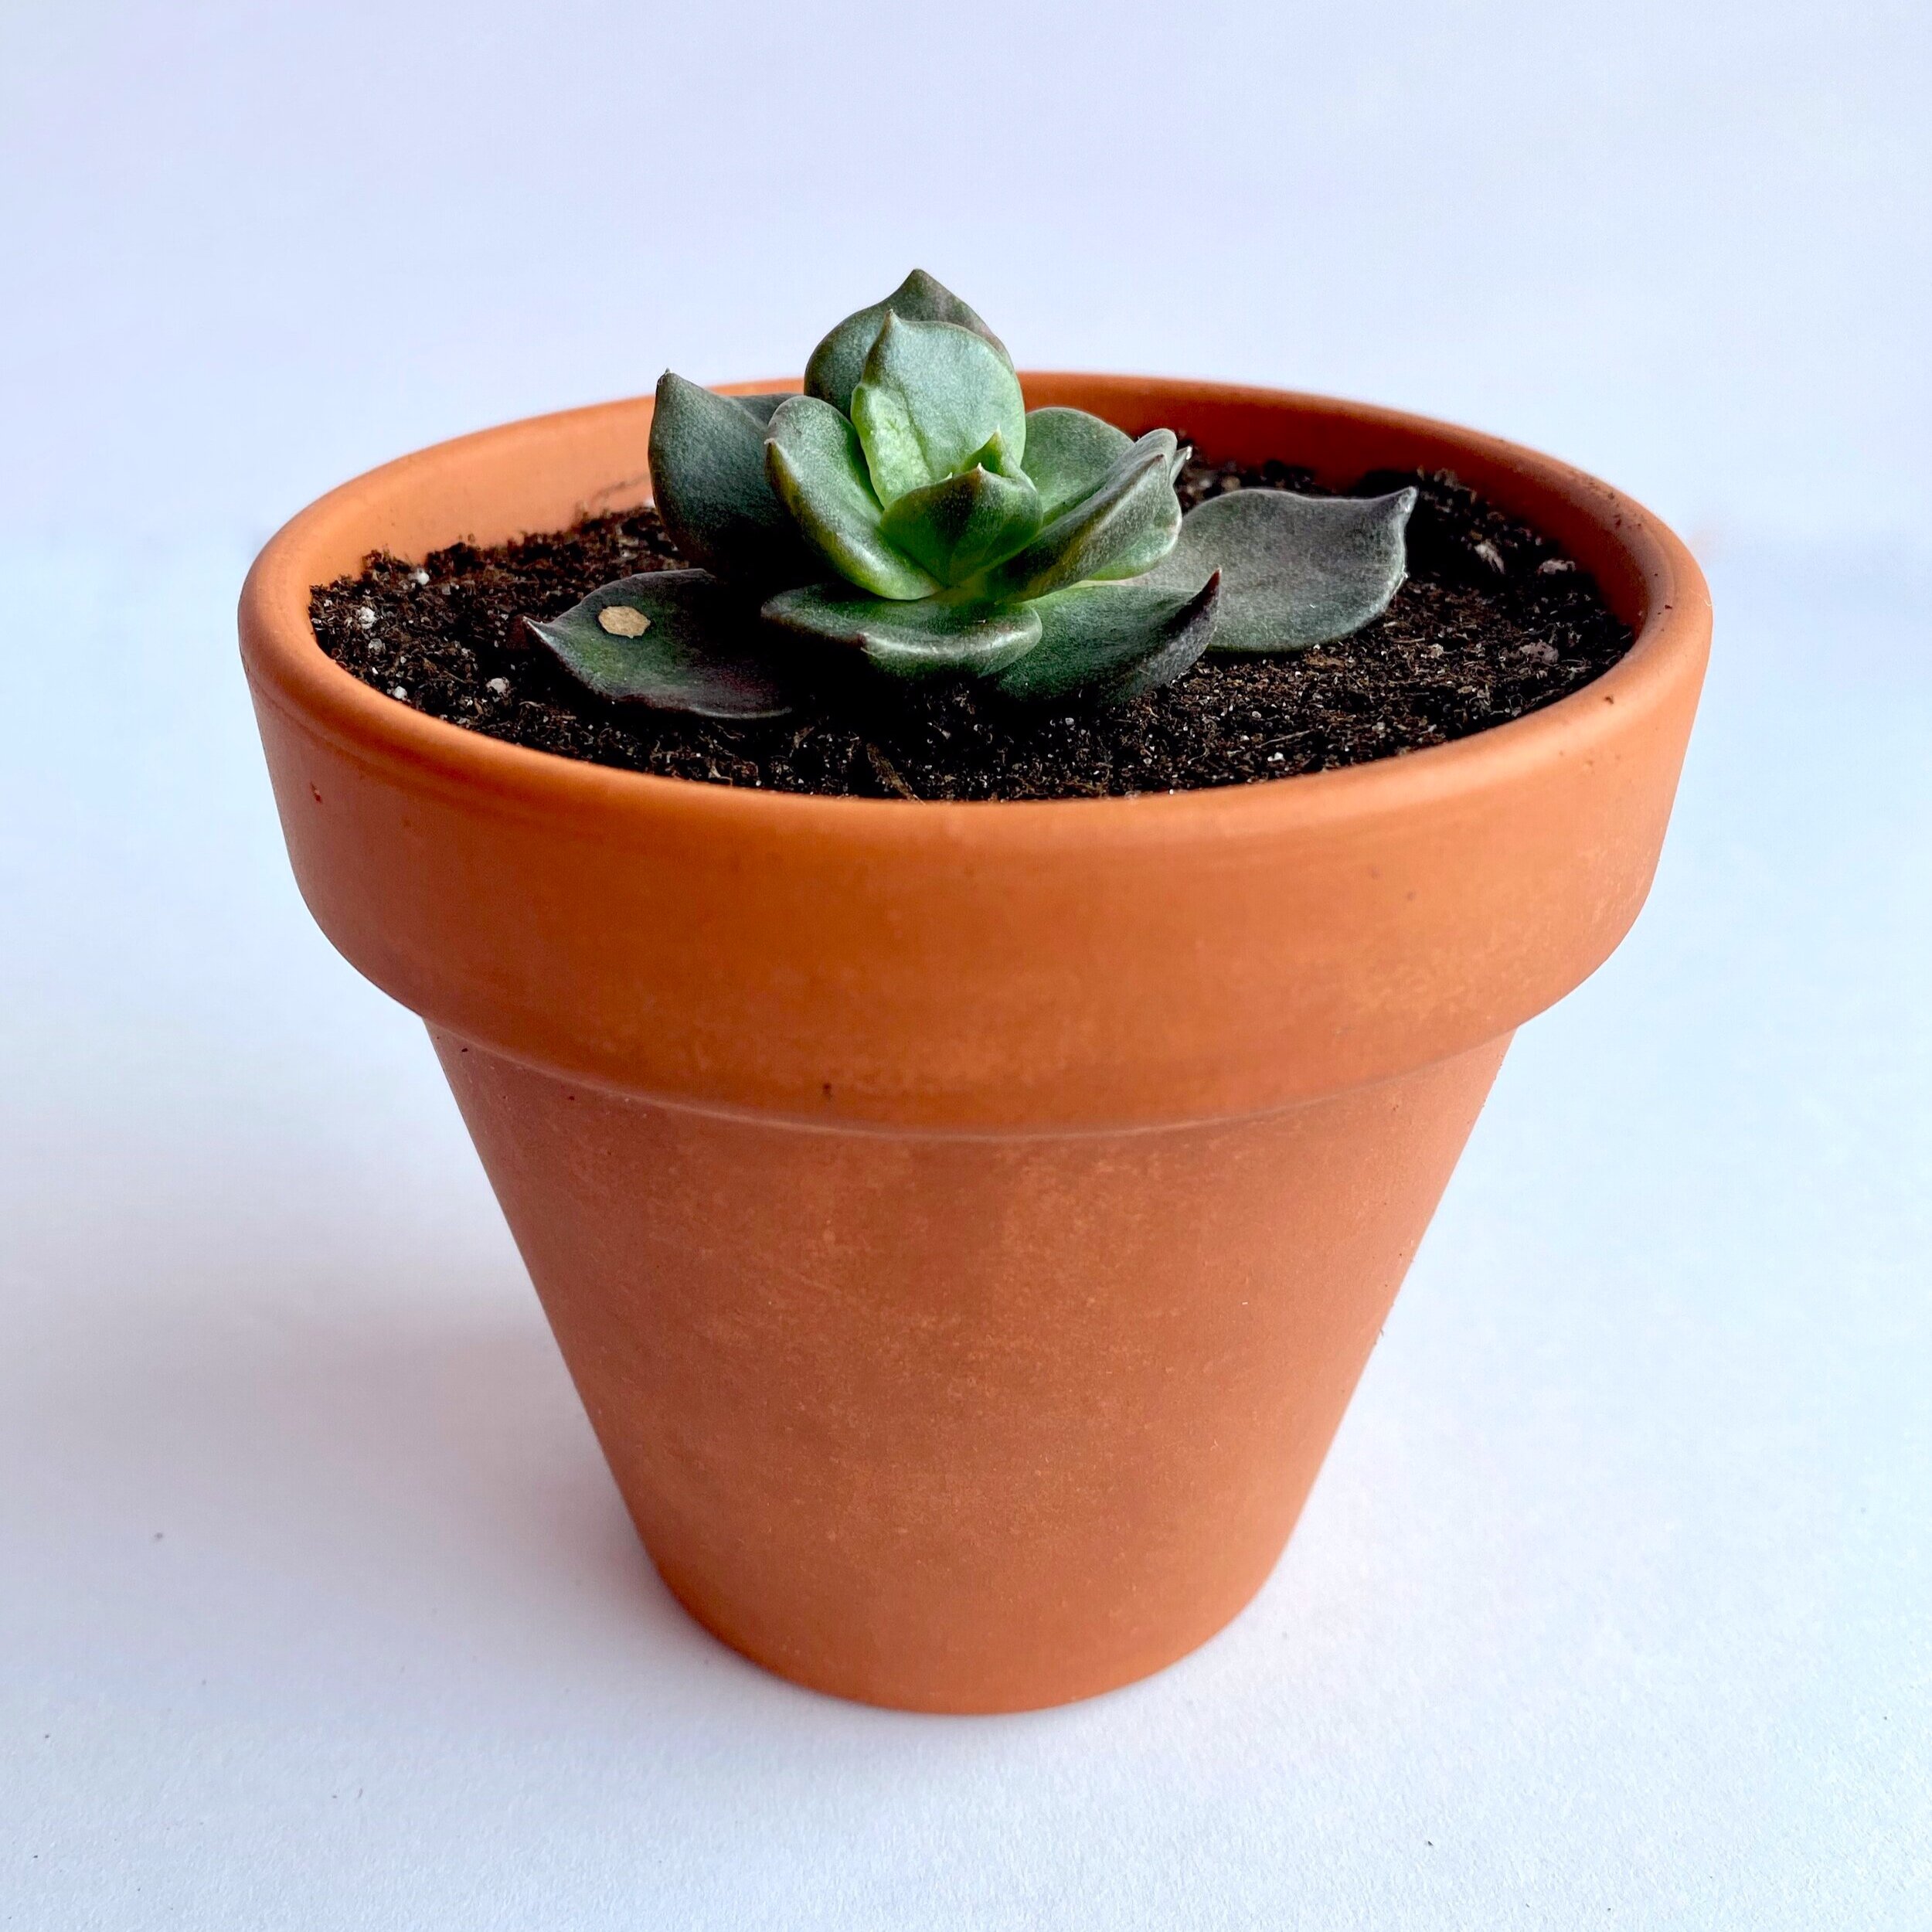
Do the same with one of your pots and the rosette. You need only to gently push the rosette stem into the soil. Spray well with water. Same light as above.
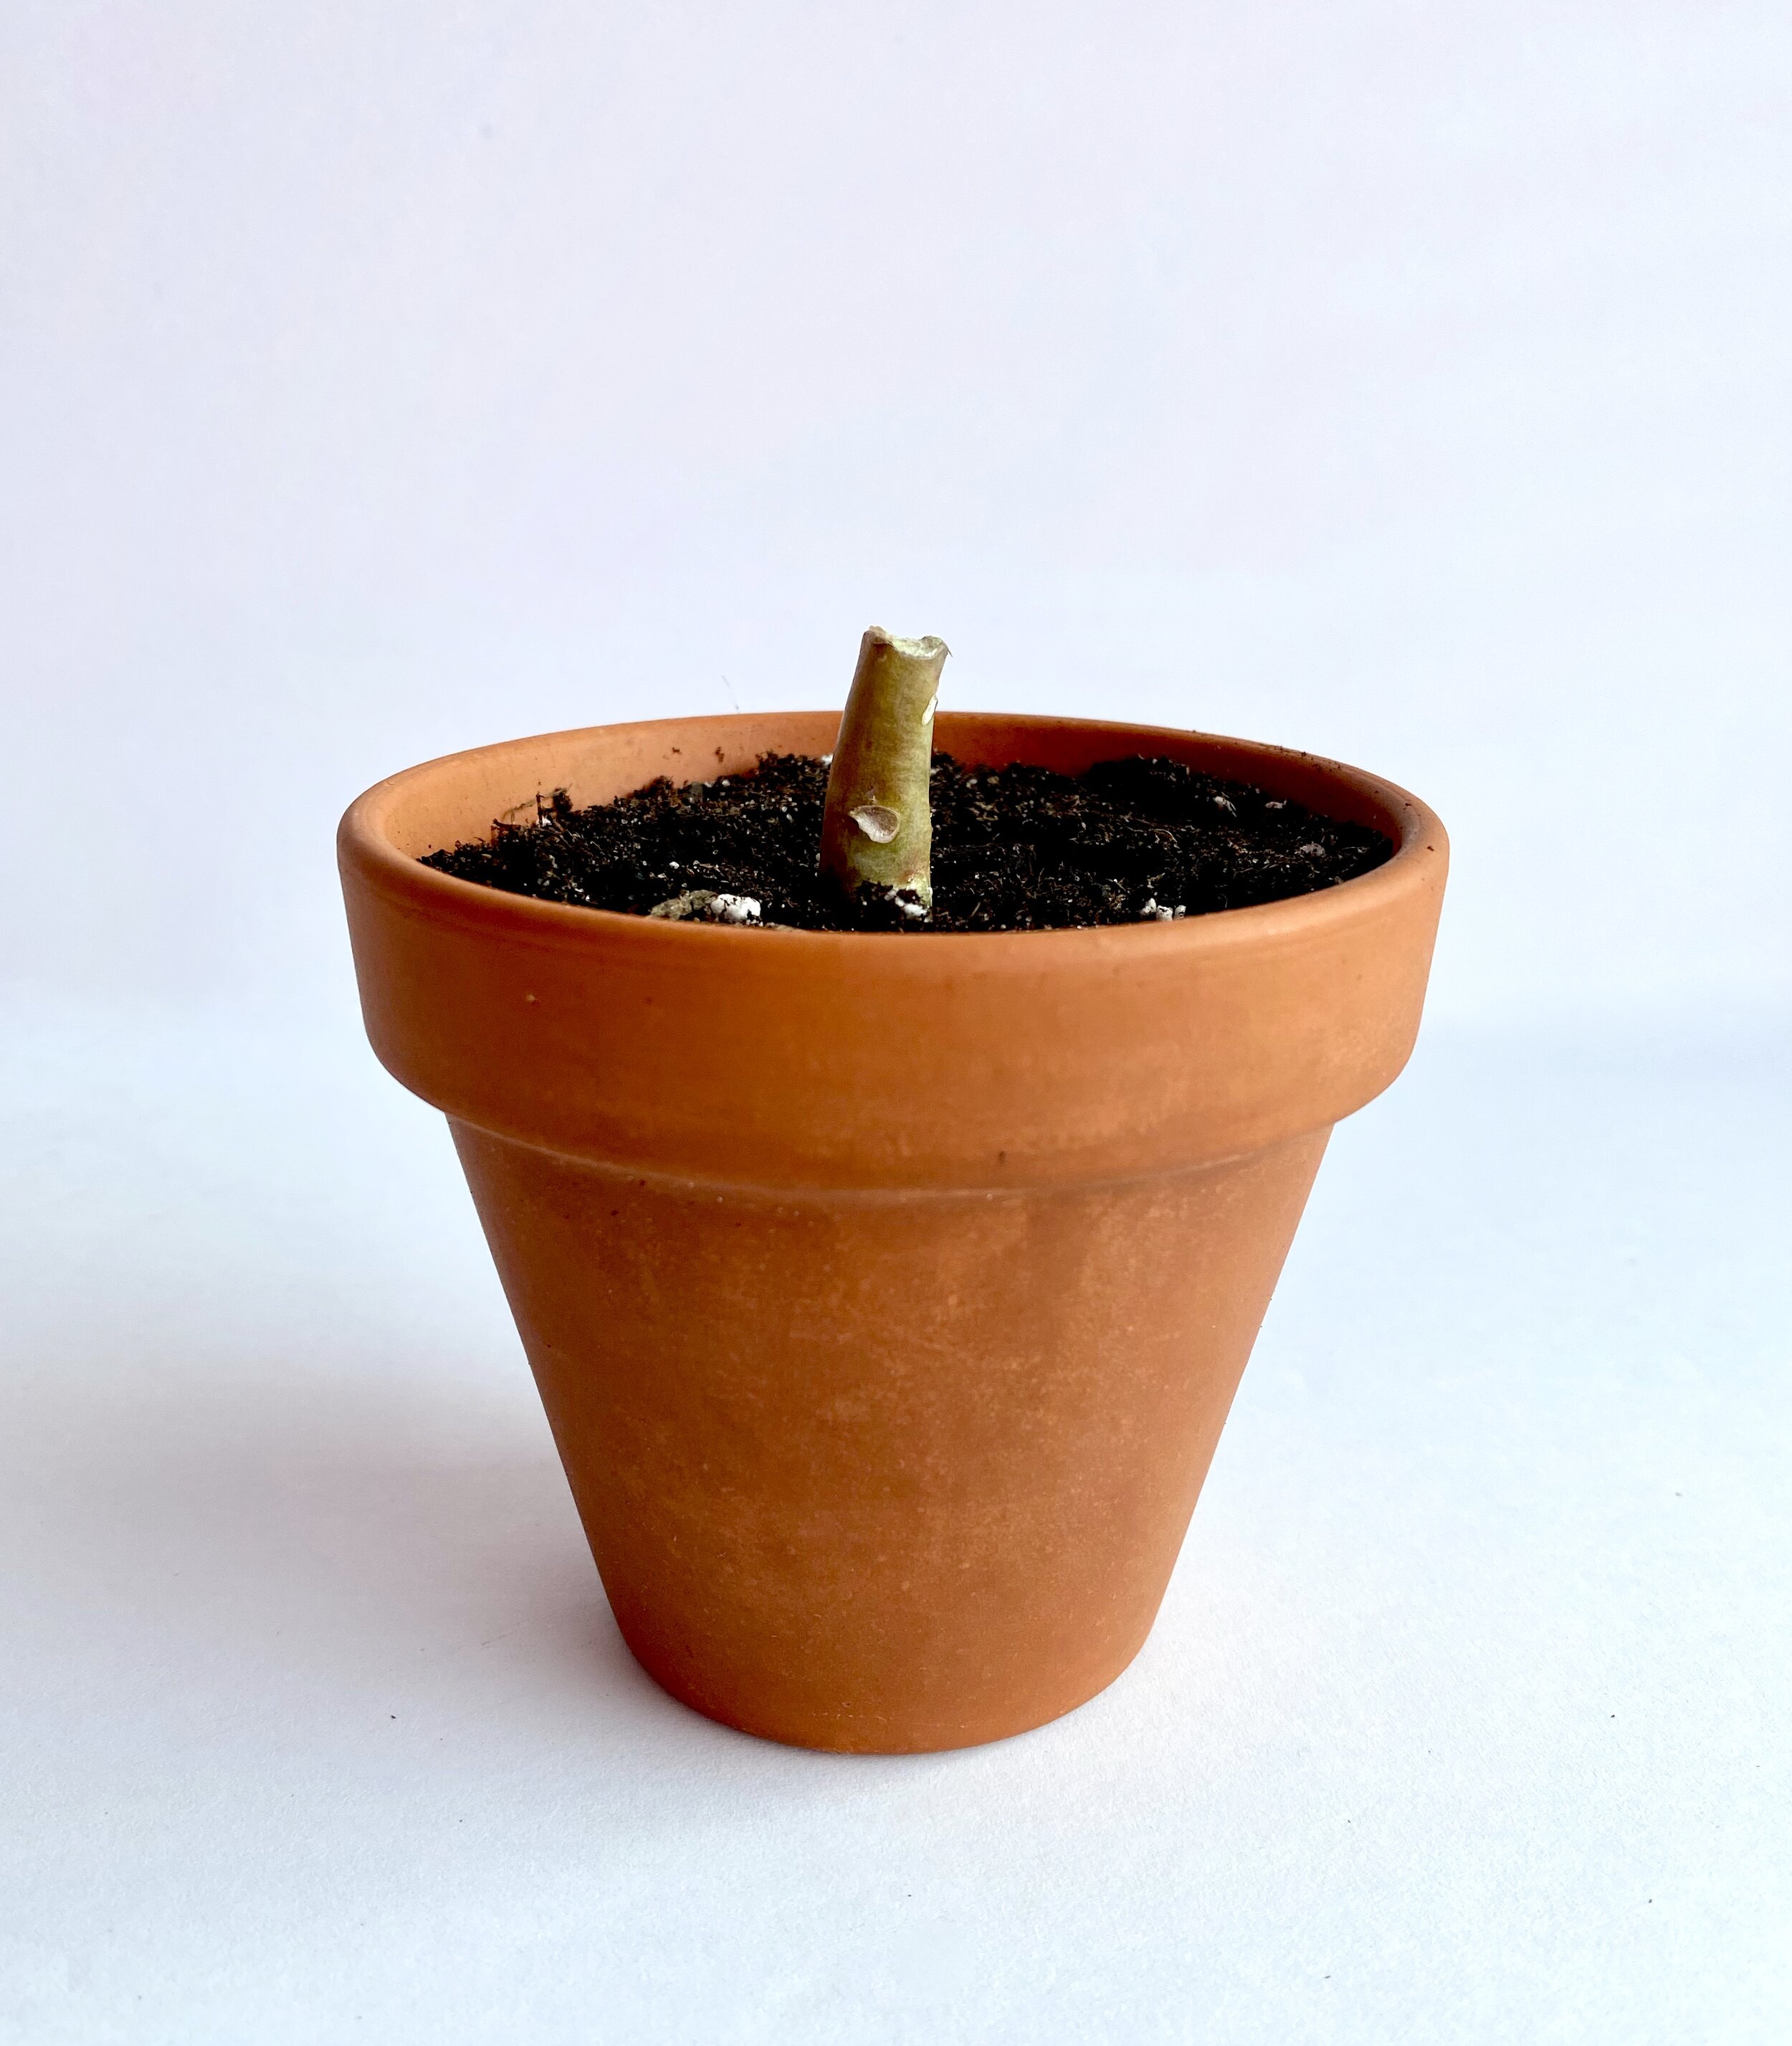
Don’t forget the stem from which you removed the leaves and rosette! Be sure to water it after you put it in a pot filled with soil.
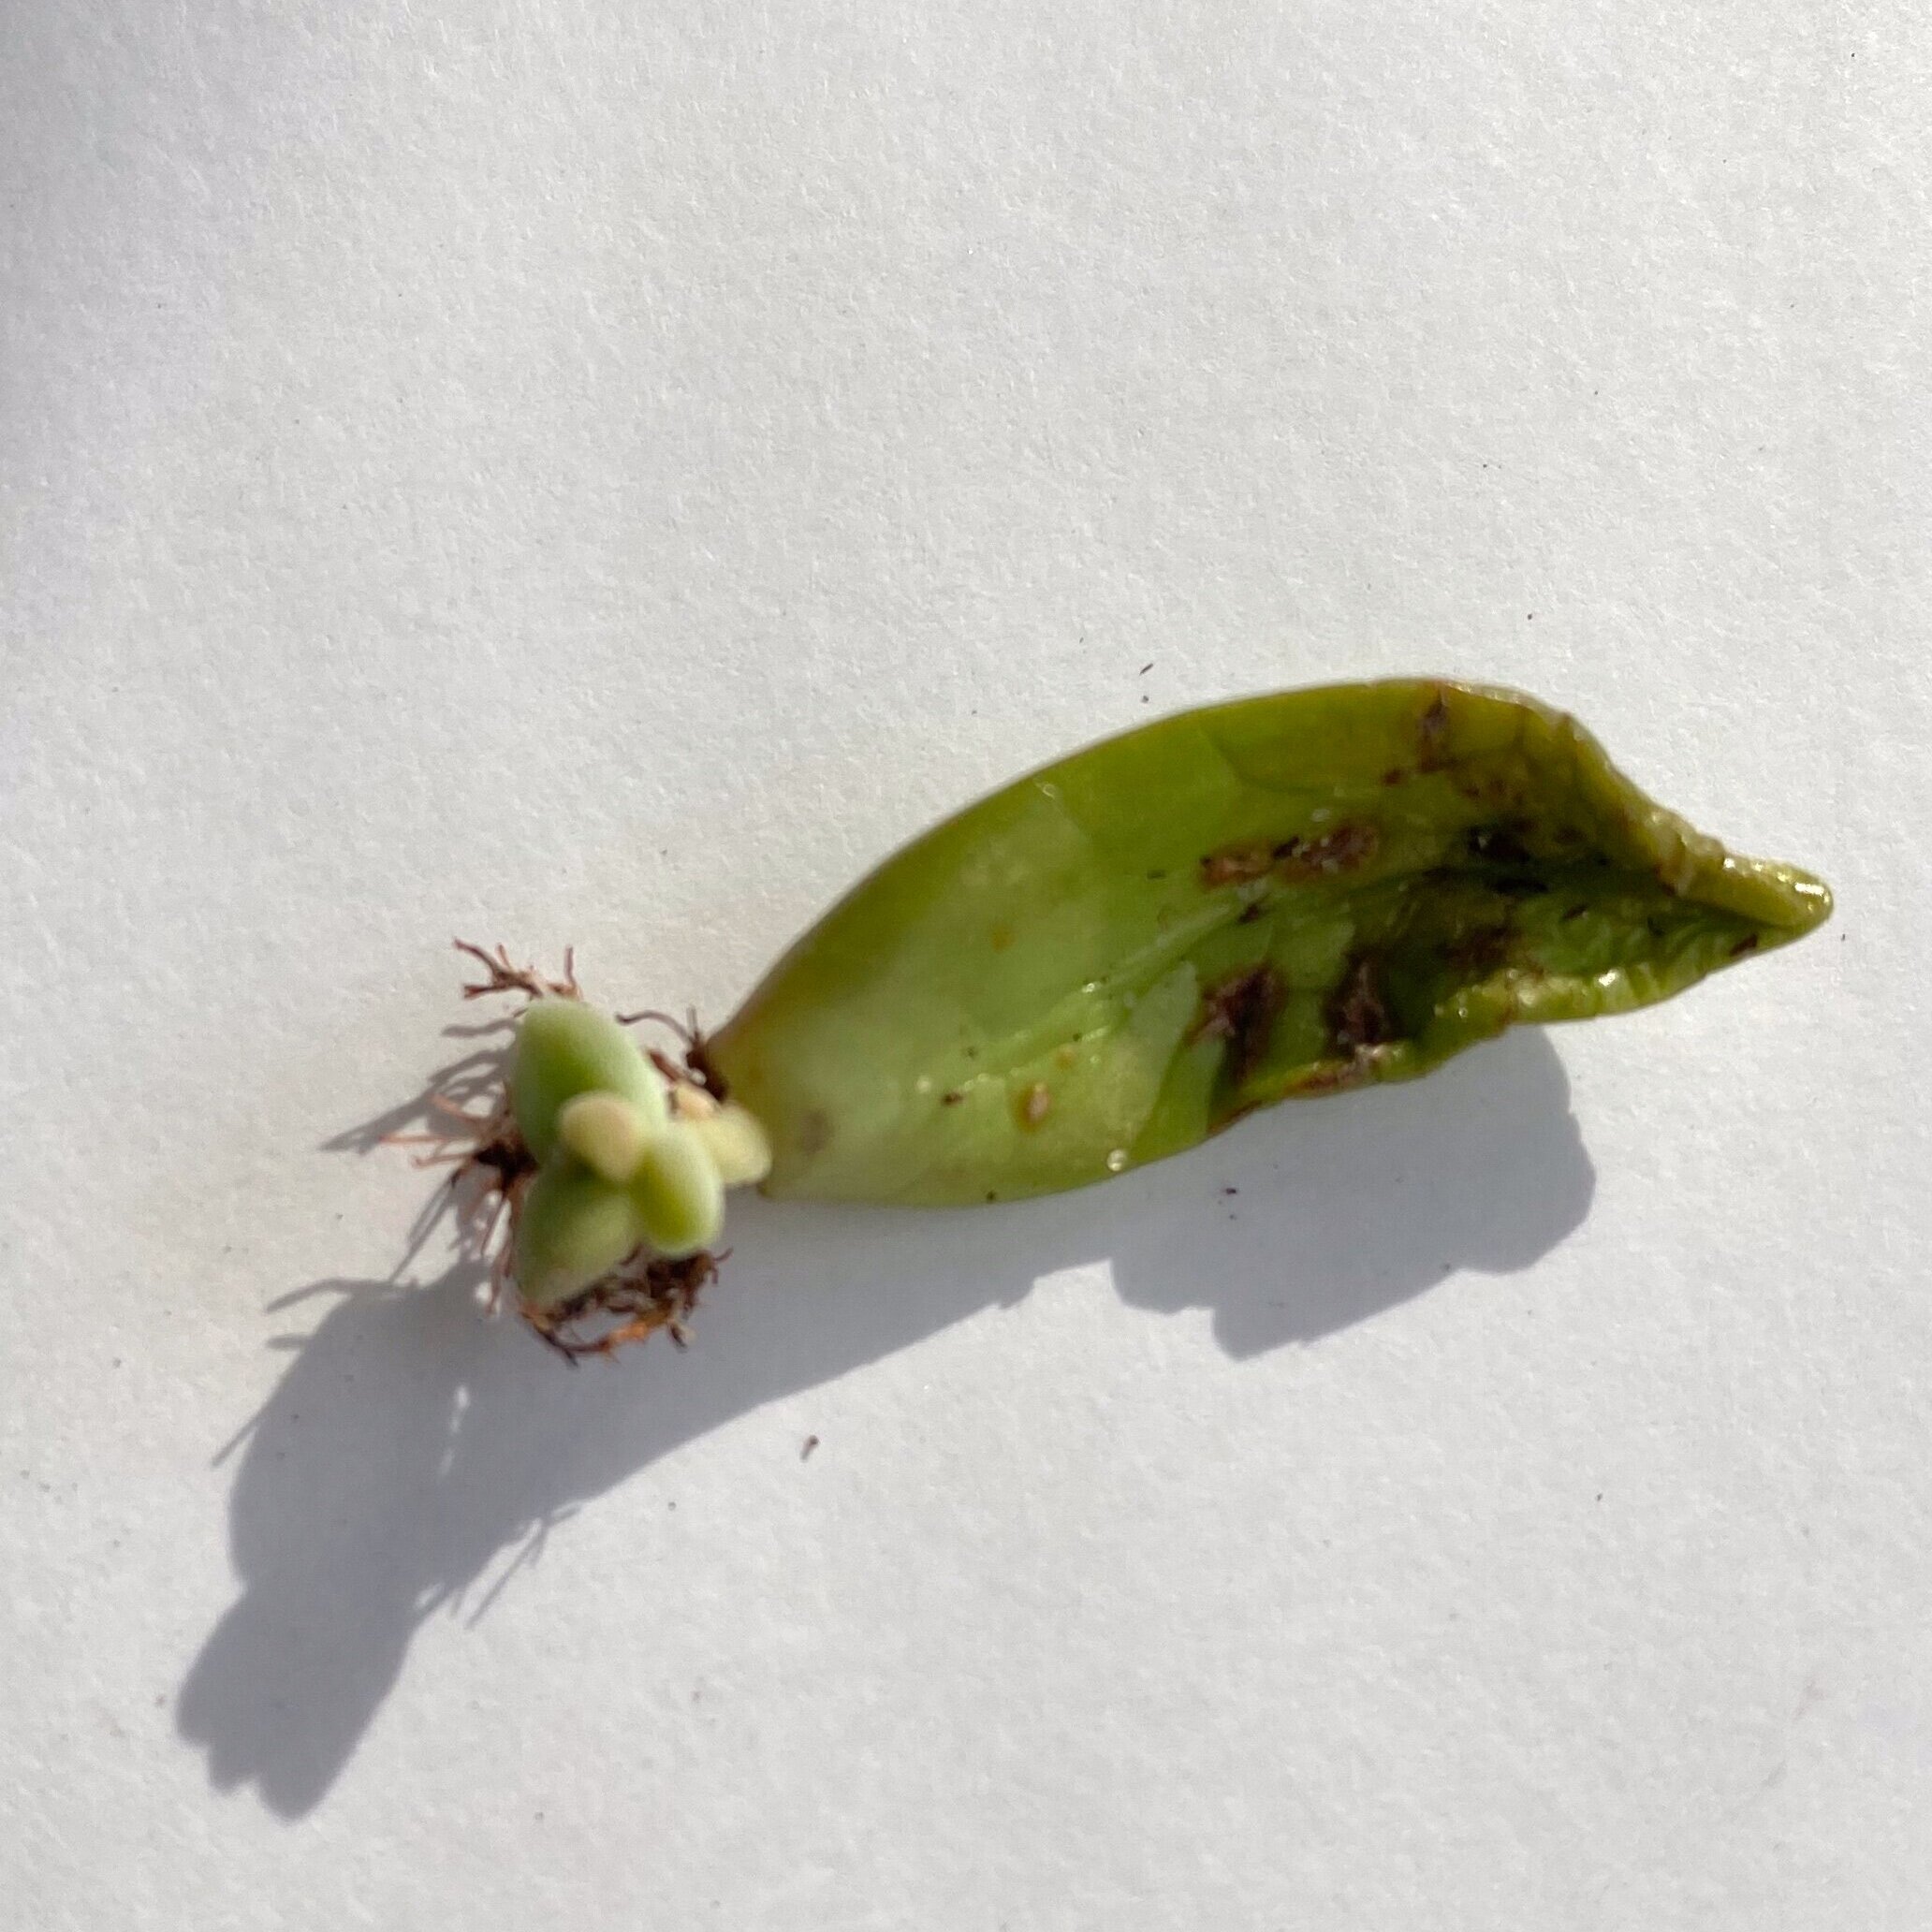
Spray your leaves with water when you notice the soil is dry, every 2-3 days. You do not want to over water these lil guys! In about 2-3 weeks you will notice little tiny leaf clusters and roots forming at the end of the leaves. You may also get leaves that die or produce roots but no plants. Those you WILL unfortunately need to disperse of. When they get to about a 1/2 inch big you can start feeding your new baby plants!
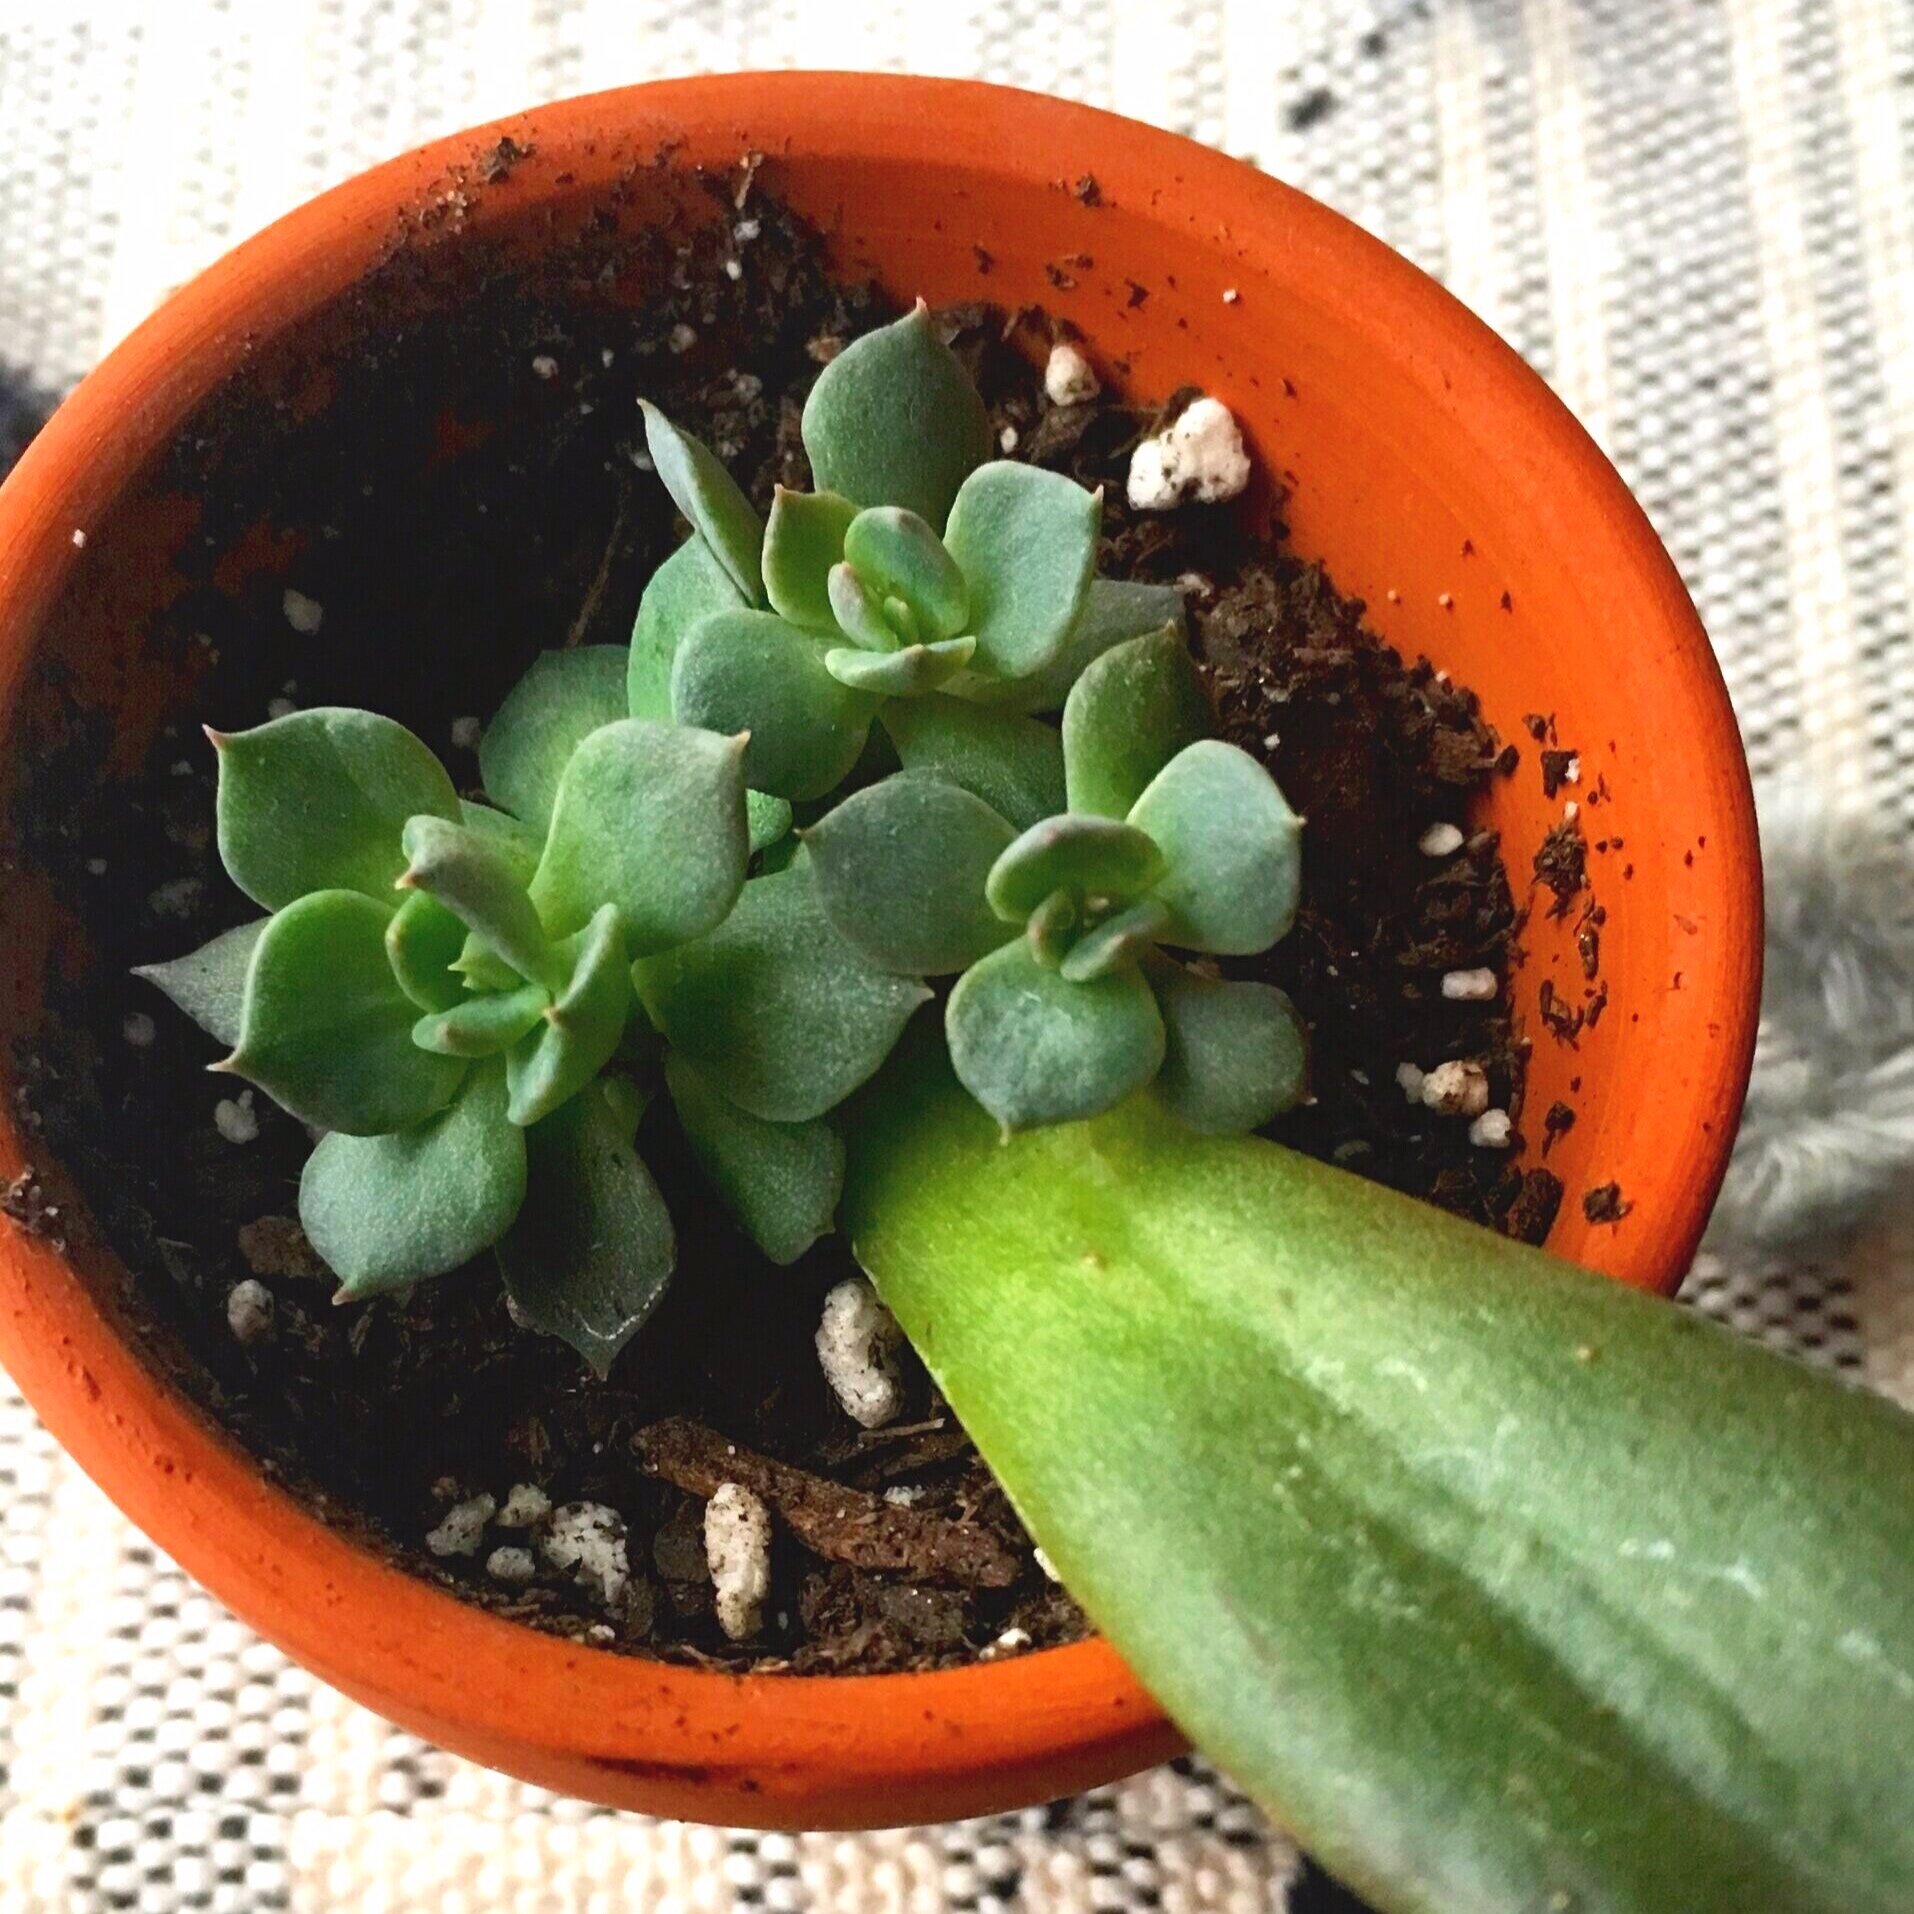
The “mother” leaf may wither and that is ok, just gently remove it from the new plant. When your new plantings get large enough, you can transplant them to their own pots.